Project bB: We Have Boost! Almost…
by Brad LordWhere Was I?
They say time flies when you’re having fun, and although I can’t say that every aspect of the Project bB journey has been enjoyable so far, the months – cough, years – have certainly ticked past at a ridiculously quick rate, which means I’ve got some catching up to do. Importantly though, the finish line – or at least the one to get the little Toyota up and running with its new boost injection and driving legally on the road here in New Zealand – is now in sight.
Anyone able to cast their mind right back to the beginning of this project will know that the original catalyst was an HKS turbo kit that I picked up for the equivalent of around US$150. The reason why it was so cheap, was the fact that the little HKS T25 (Garrett) turbocharger was blown, so I’d either need to have that completely rebuilt or replace it altogether.
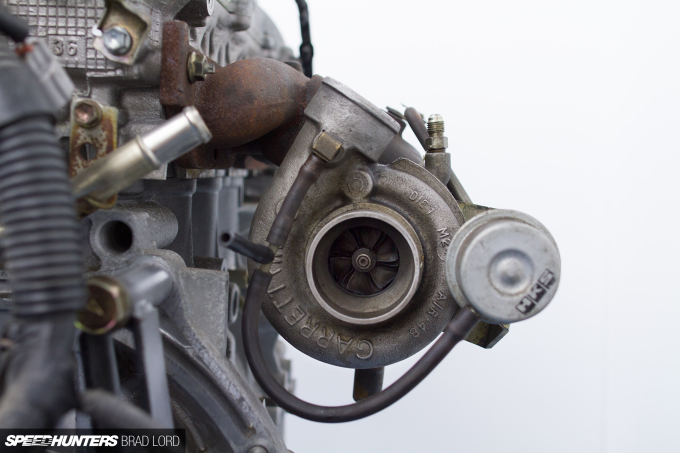
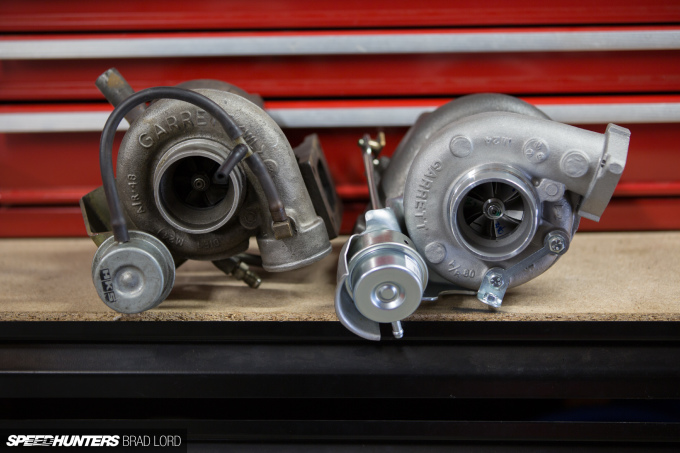
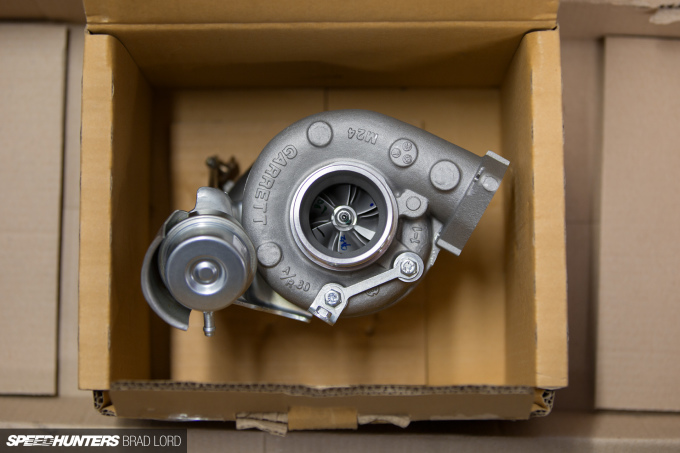
As the HKS manifold included in my purchase features a T2 flange, many bolt-on turbo options were available to me, but ultimately I settled on the smallest ball-bearing unit in Garrett’s GT Series range – the GT2554R.
There’s not a huge amount to say here, apart from the fact that this unit has a unit 42mm compressor wheel and a 0.64A/R exhaust housing, features a 10psi wastegate actuator, and is suited for engines ranging from 1.4L to 2.2L and power levels from 170hp to 270hp. In other words, it’s a good fit my 1.5L motor and 200hp+ goal. I did consider the GT2560R – the turbocharger that came factory-fitted on the JDM Nissan Silvia S15 Spec R – with its slightly larger inducer and exducer wheels on the compressor side, but I think I made the right choice for my little engine.
Under Pressure
In my last project update, we fitted the donor Vitz RS C56 gearbox with a Cusco Type-RS 1-way limited slip differential that I had left over from a previous car (an AE111 Levin BZ-G), which handily also ran a C56, albeit in a slightly different gearbox casing. Because I was swapping from auto to manual I had no clutch, so I spent some time researching all the options out there.
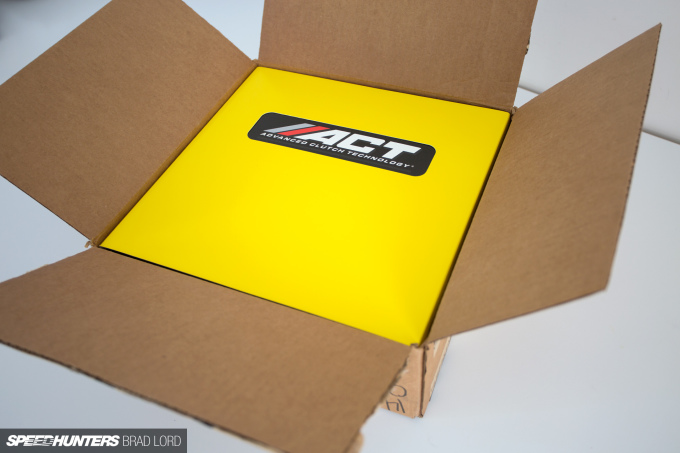
Immediately, Advanced Clutch Technology (ACT) in Lancaster, California stood out to me. Browsing their online catalogue revealed no less than 10 full kit (clutch disc, pressure plate and release bearing) options for my humble Toyota. Yes, Corolla, Yaris, Echo, Vitz, xB (bB), xA (iST) and other similar models all use the same Toyota C-series manual gearbox and 212mm/21-spline clutch, so there’s definitely a market for performance solutions, but ACT’s extensive selection was still a pleasant surprise. I guess a huge product range should be expected though, given that ACT just celebrated their milestone 25th anniversary last year.
But which clutch to get from the 10 kits? That’s the question I put to ACT, who were not only happy to guide me through the options, but also supply a kit for the project which I’m very grateful for.
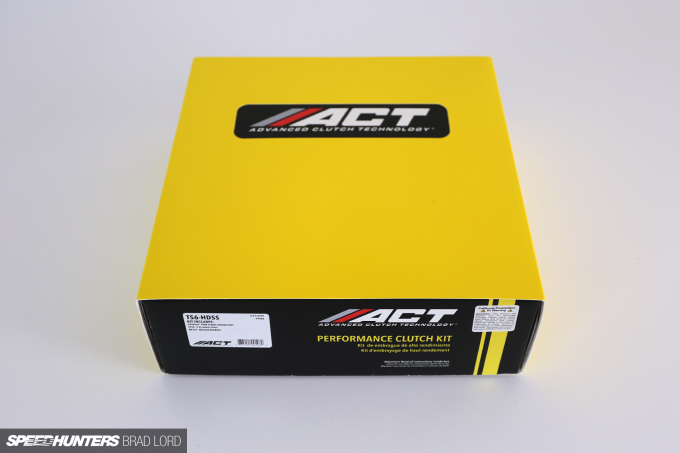
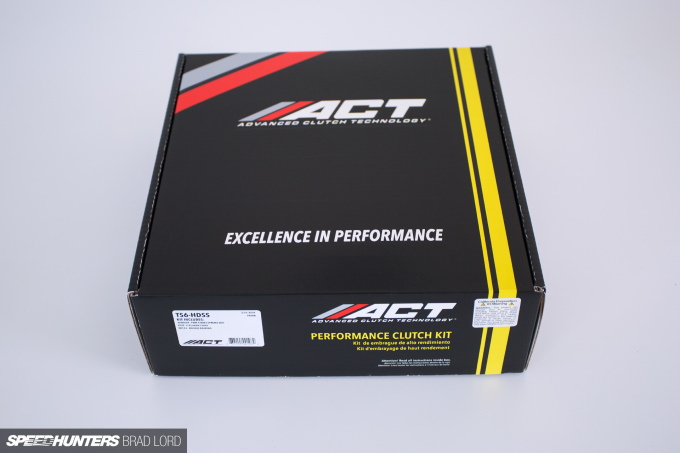
You can tell a lot about a company by their packaging alone, and ACT have set the bar very high in this respect.
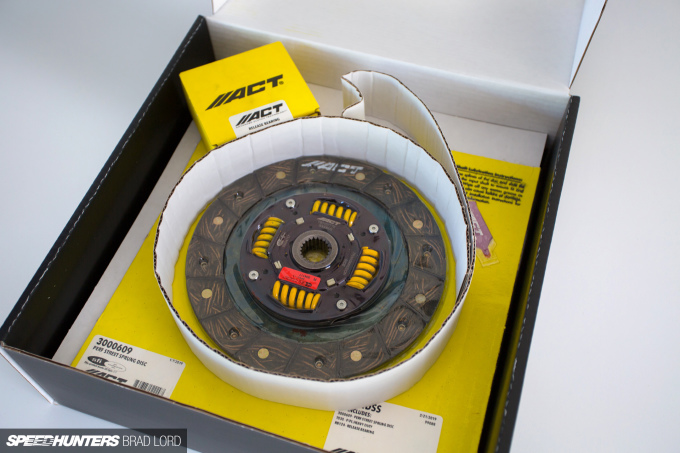
In selecting the right clutch, the ACT technical team wanted to know what the car was primarily going being used for, how much torque would be produced, and whether or not I preferred a smooth clutch engagement or something a little more aggressive. From my answers they’d be able to suggest the best ACT kit for my application.
It went something like this… Project bB is a street car first and foremost, but perhaps it will see a little drag and circuit time too. Torque-wise, the ‘1NZ-FET’ engine, which was a TRD turbo kit option in Japan, produced 145lb-ft (up from 104ft-lb for the naturally aspirated engine) on 5 or 6psi boost, so I guessed we’d be seeing more than that, hopefully 175lb-ft+. Finally, I didn’t want engagement that was too aggressive, because that would likely put too much strain on the gearbox.
ACT doesn’t have a ‘stage’ system like other performance clutch manufacturers do, because they believe this can be too vague. Instead, they publish the torque capacity the clutch will hold at the crank, which is a much more precise way to measure. At the end of the day, that’s all your clutch really cares about.
For my specific application, ACT’s least aggressive sports-type street kit (Sport pressure plate and Performance Street disc) offering can handle 225lb-ft, while the most aggressive competition-grade kit (Heavy Duty pressure plate and 4-puck rigid Race disc) is good up to 305lb-ft, so they’d all work. Ultimately though, we decided to go with the second street option – a heavy duty pressure plate with a performance street disc for a torque handling capacity of 240lb-ft.
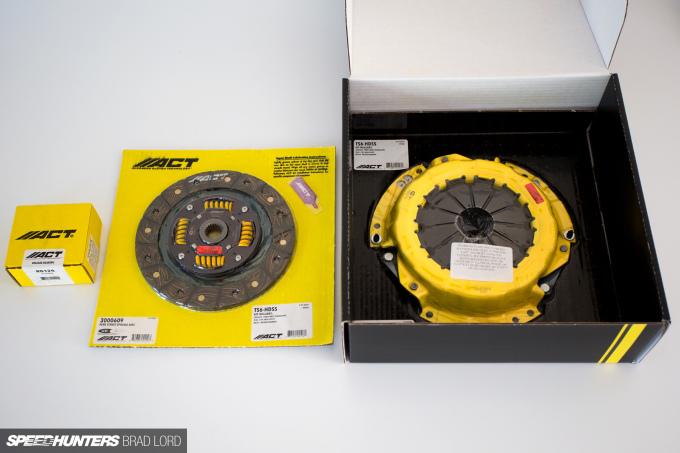
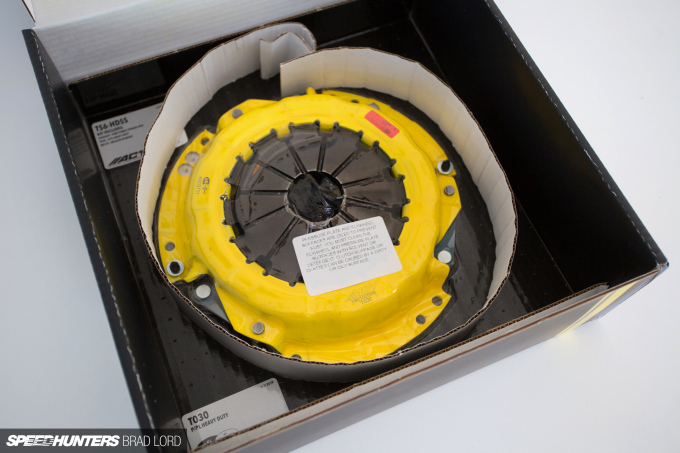
This kit – the HDSS – is designed for fast road driving and occasional track use, which sounds perfect for Project bB. Because ACT sell all their clutch components separately too, if I add more power/torque into the equation and want to step up to something more aggressive in the future, I’m already running the HD cover so I’d just need to replace the disc with one of the 6- or 4-puck options.
Inside, the three main components: 1. An ACT Heavy Duty pressure plate, which features an exclusive diaphragm (that has gone through a four-stage heat-treating process) to increase clamp load and reduce deflection while maximising clutch life. 2. An ACT Performance Street disc, manufactured from premium organic materials with high copper content for improved heat transfer, reduced marcel for fast shifting, and featuring a steel-backed lining for greater burst strength and reliability. 3. A release bearing to suit.
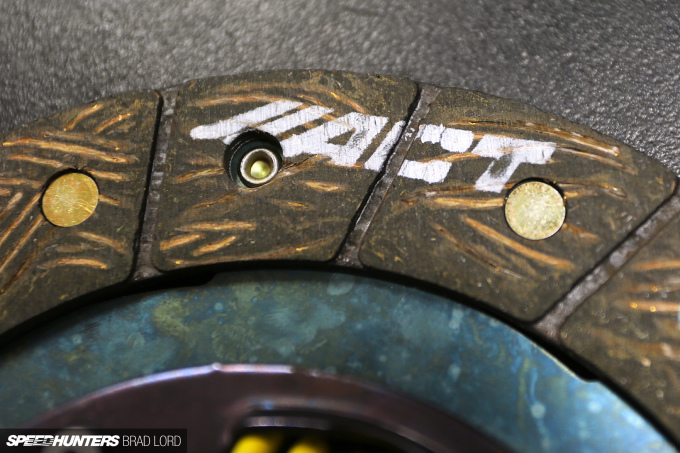
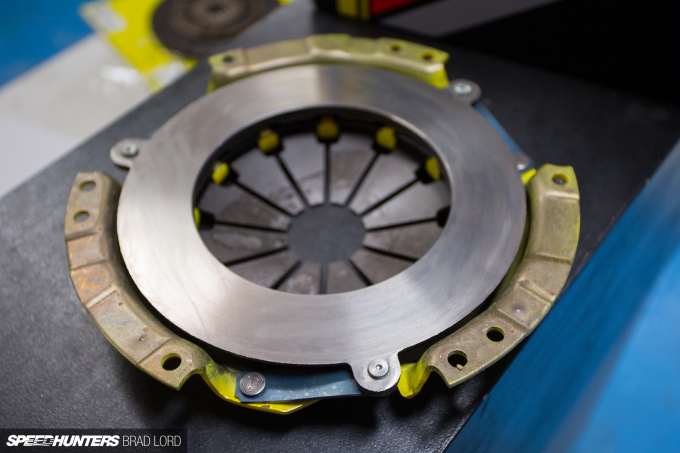
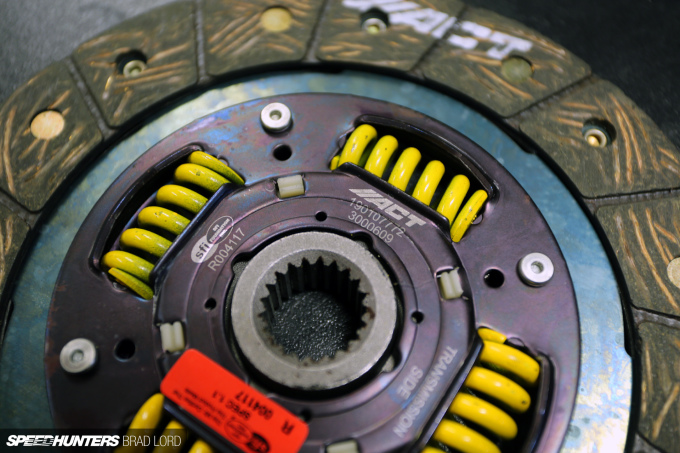
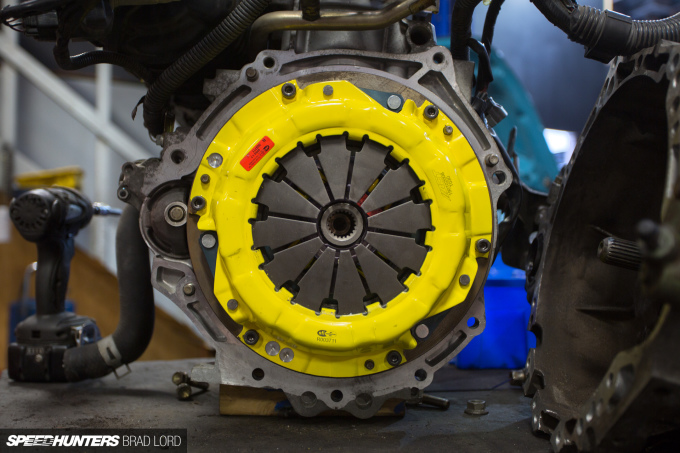
All ACT clutches are 100% clamp load tested and dynamically computer balanced for smooth high-RPM reliability, and most discs (mine included) are SFI rated, so I’m totally confident this kit will hold up to everything I throw at it.
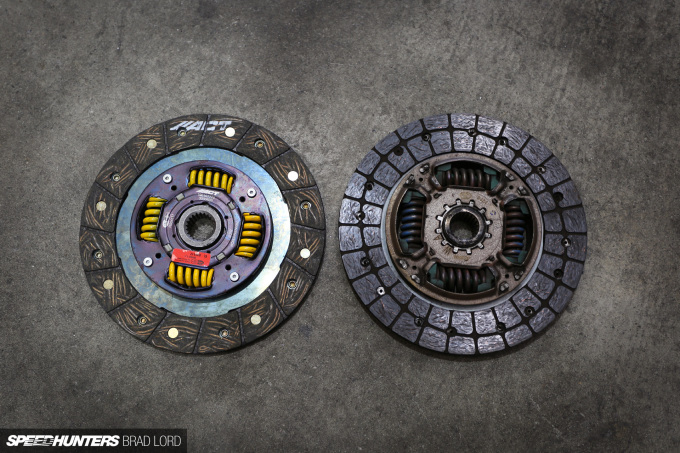
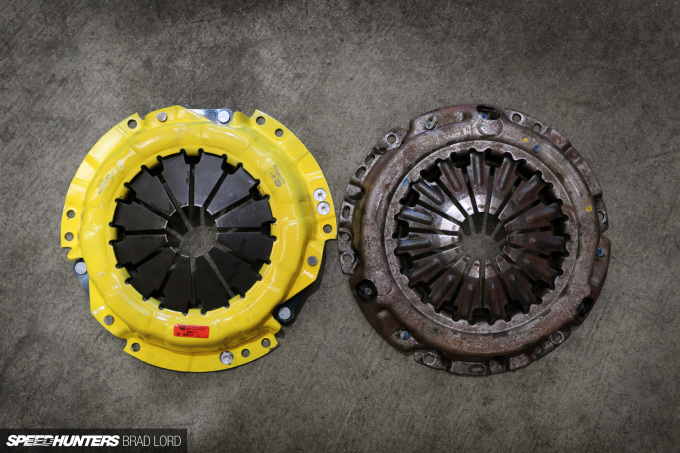
There’s nothing much for me to say about fitting the clutch, but everything went smoothly at JTune Automotive, as expected. Here are a couple of side-by-side comparison shots with a standard Toyota 212mm clutch.
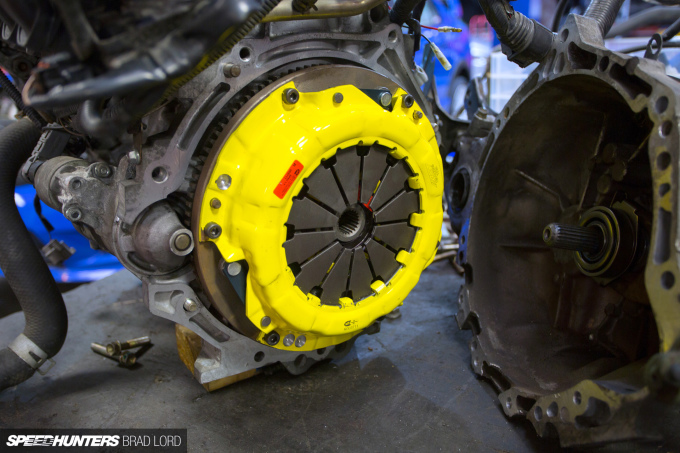
For my HDSS kit, ACT says I’ll have light to moderate pedal effort, smooth positive engagement, and OE to mild gear rattle, which all sounds great. I’m just looking forward to experiencing it for myself very soon, so stay tuned for an update there.
Back In The Hole
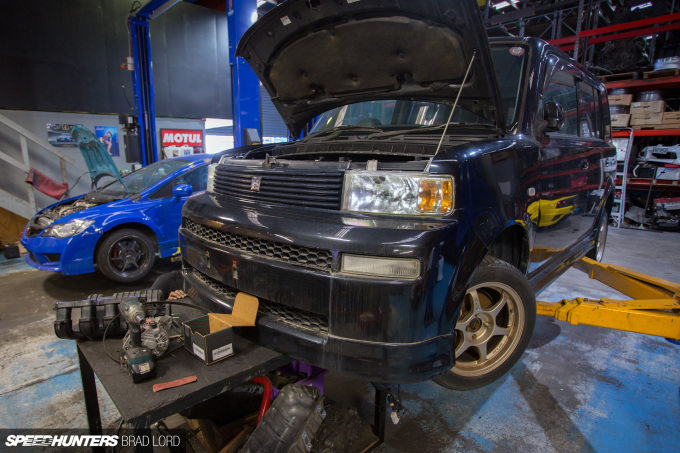
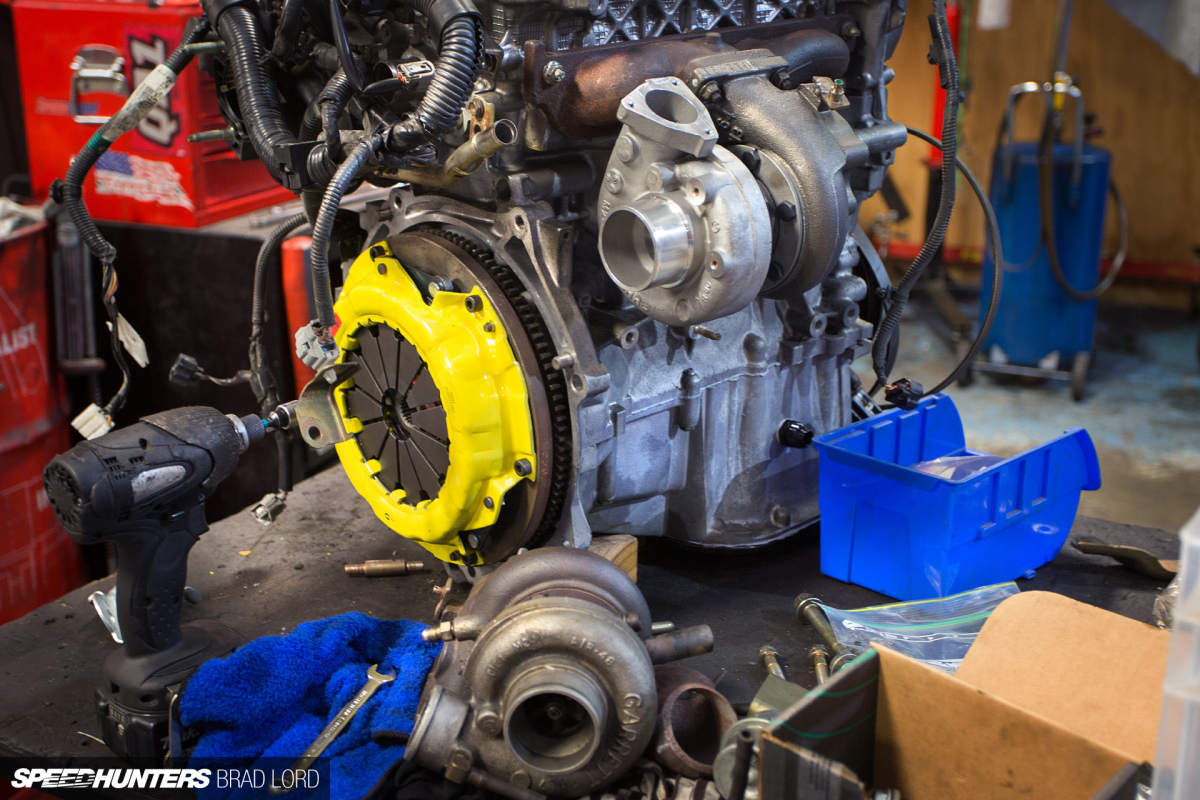
With the turbo bolted up and the clutch in place, it was finally time to get the engine and gearbox combo back in the car.
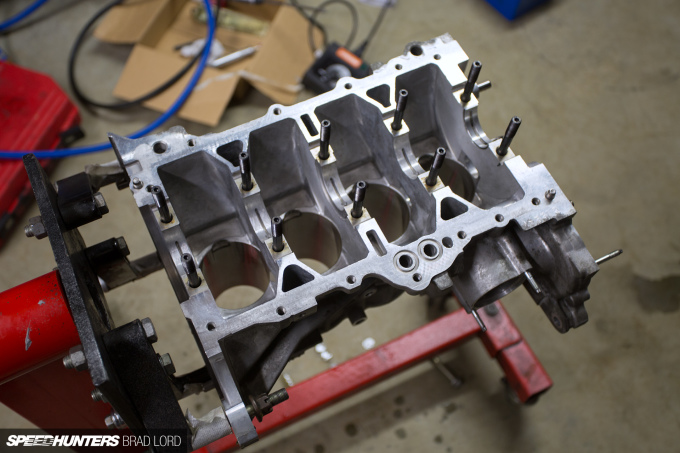
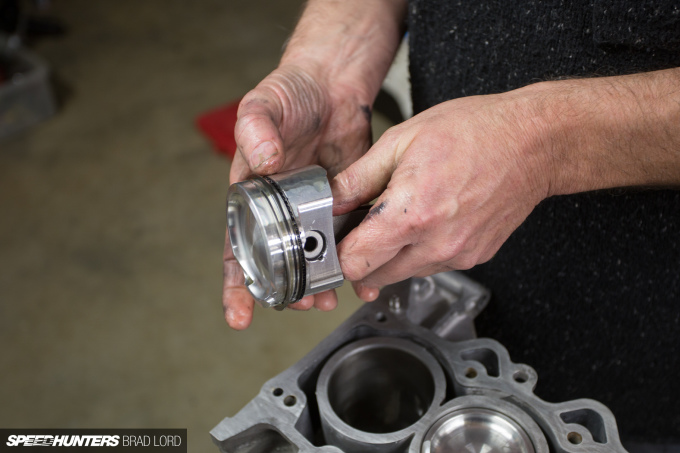
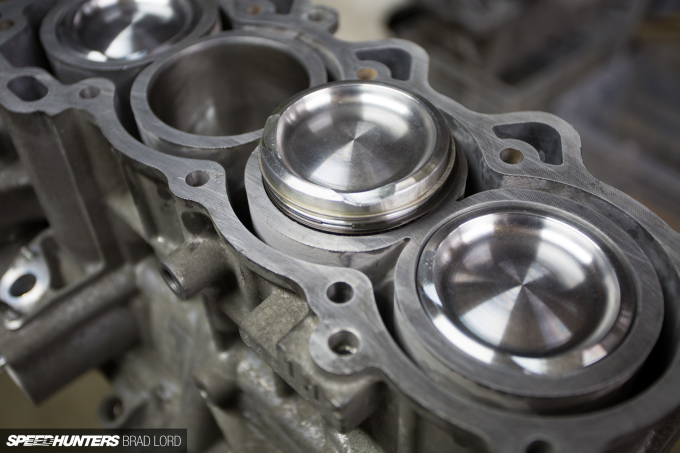
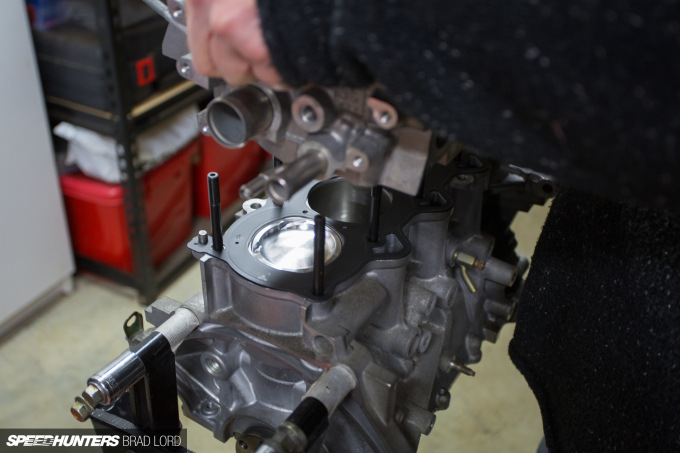
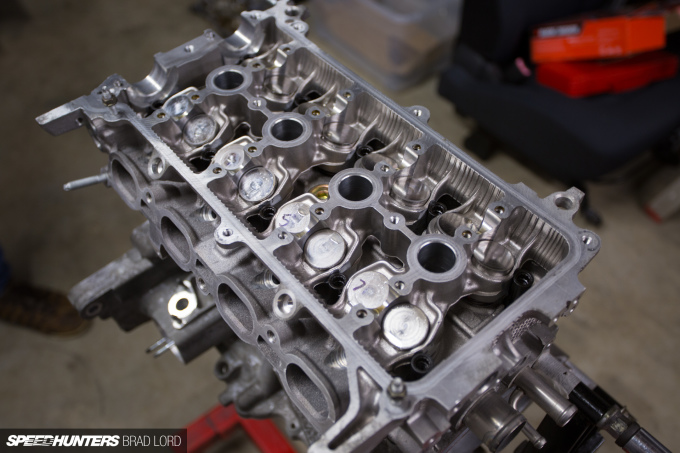
Although I never provided an update on the actual engine build, that happened with the expert help of my friend Andrew, but not without a couple of headaches (remember my earlier comment about not everything being enjoyable?). The source of this frustration? That lies solely with ARP head stud kit #203-4101.
I won’t dwell on this for too long as it’s all in the past now – just like the issue I had with the Arias pistons not actually being the size they are sold as – but if you’re building a 1NZ-FE and plan on using ARP’s head stud kit for this engine, be prepared to do some other work. Specifically, you’ll need to cut down two of the excessively-long ARP nuts – one completely fouls on a disc at the end of the intake camshaft, and the other stops the VVTi oil control valve seating correctly at the other end of the cylinder head. In fact, for the latter, even cutting the nut down to half its original size is not enough; you need to shave a bunch of material off the end of the VVTi valve in order for it to fit back in. Why ARP doesn’t mention this anywhere leads me to believe that this kit may have not been tested in the real world, but anyway…
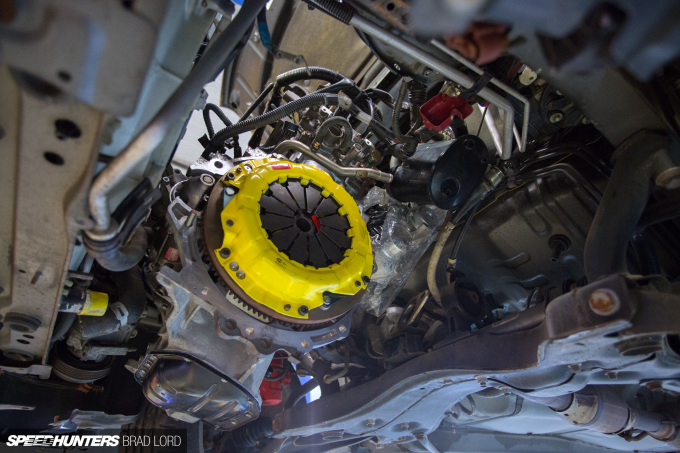
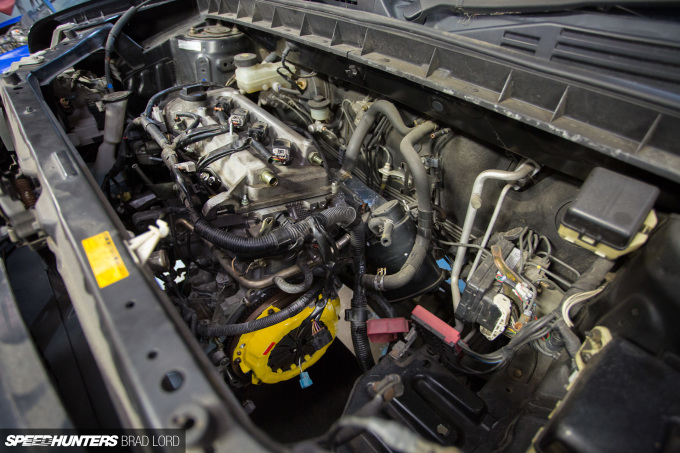
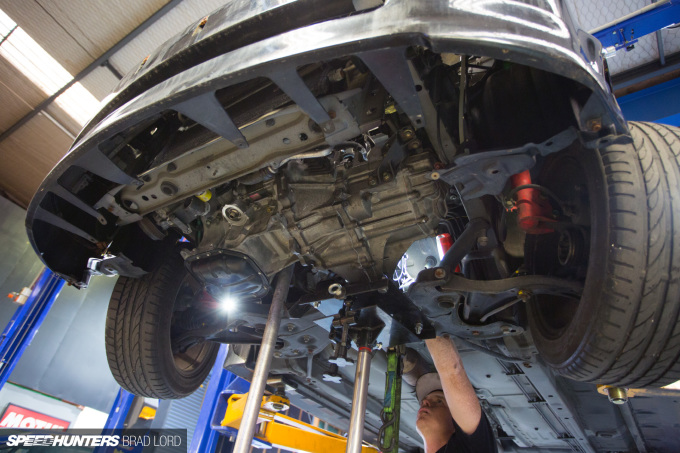
Back at JTune with Kevin in charge, we toyed with the idea of trying to reinstall the engine with the gearbox fitted, but that idea was quickly abandoned as the space is tight. Even getting the engine in, followed by the box, involved a bit of work, but ultimately we got there.
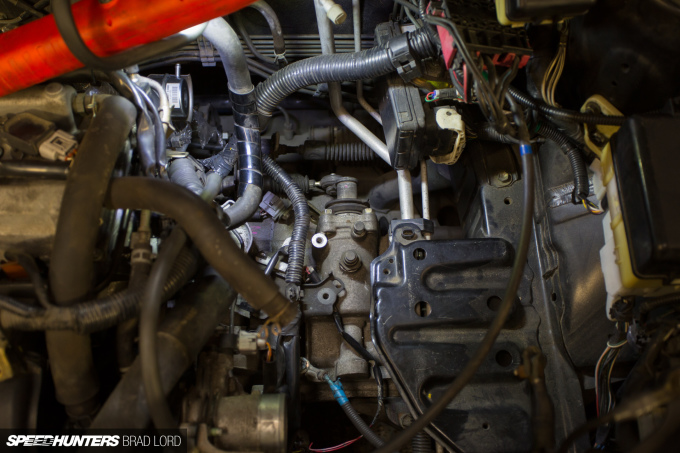
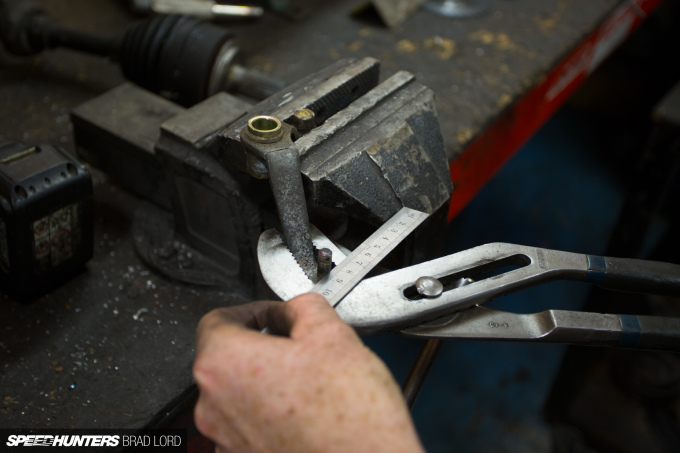
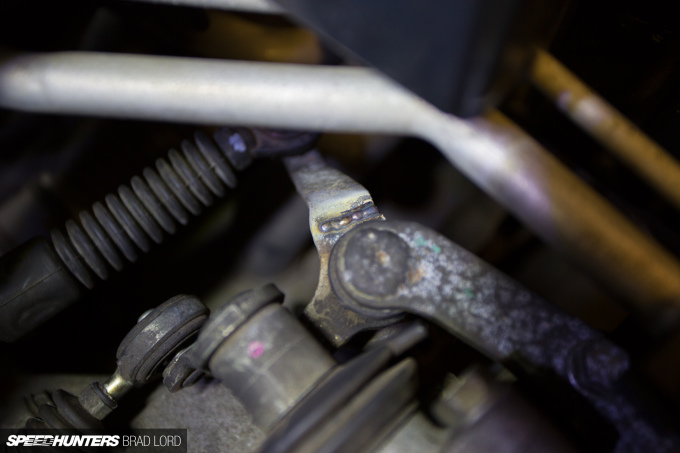
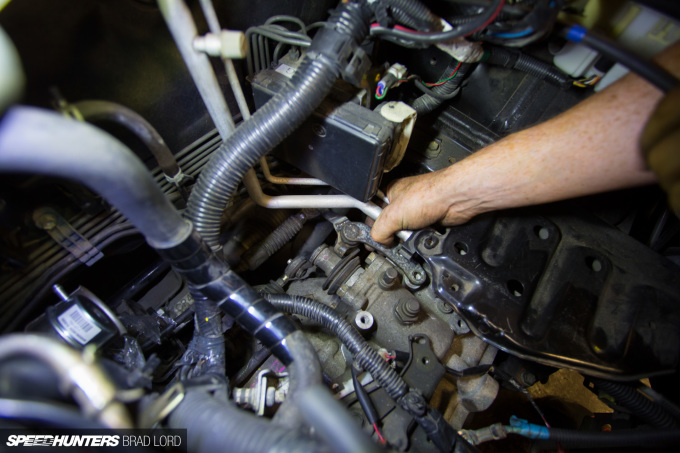
One issue that we came across while connecting everything back up was that with the turbo now in the equation, the NCP13 Vitz RS shifter cables didn’t line up with the shifter linkages on the Vitz RS gearbox.
A workaround for this was to fit the gearbox cable bracket from my AE111 C56 gearbox, but this ended up needed a slight modification in order to locate the cables in the correct place. Once again, Kevin busted out the MIG welder and quickly took care of it.
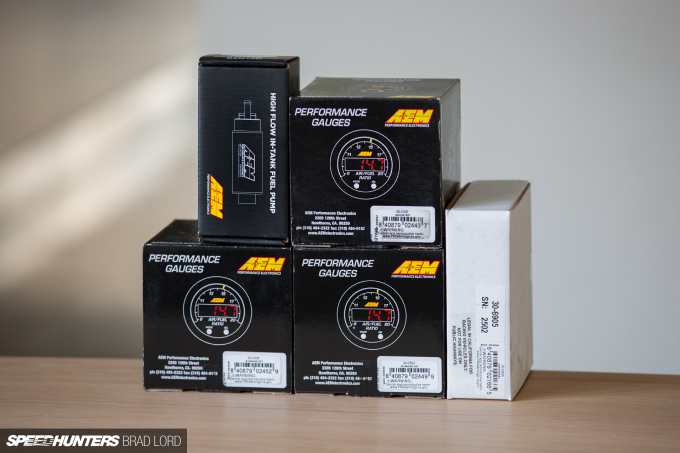
As we move closer to firing the engine up for the very first time, there have been a few more parts to tick off the list. The bB’s stock fuel pump and 210cc injectors were never going to cut it with boost in the equation, so I went looking for some straightforward solutions. First up, the pump.
I’ve chosen to use a number of AEM Performance Electronics products in my build (here are few of them), so selecting one of their high-flow in-tank fuel pumps was a no-brainer for me. These pumps have a really good reputation and they don’t cost the earth either.
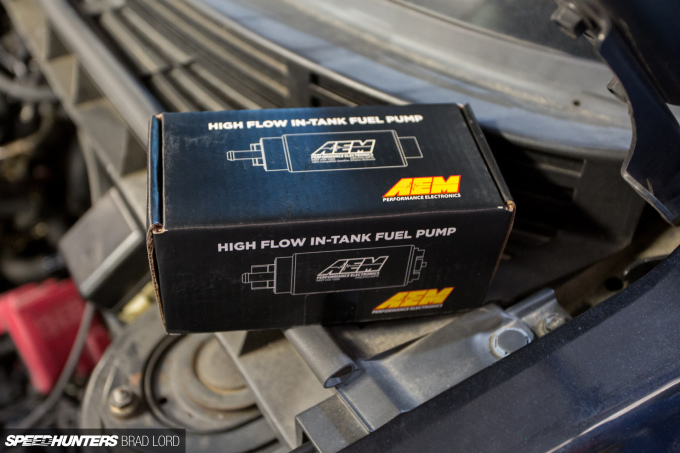
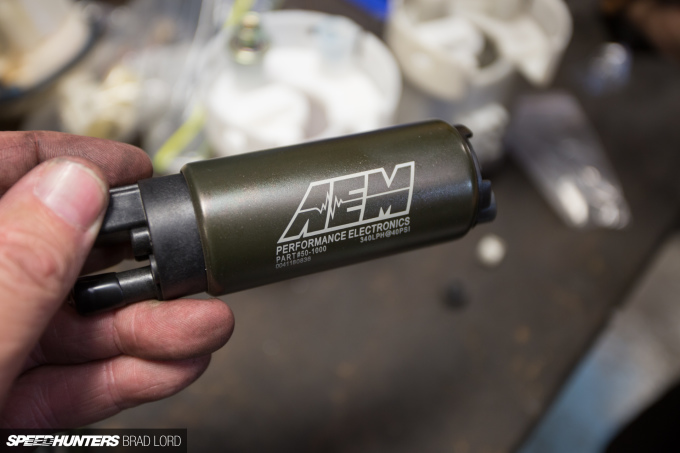
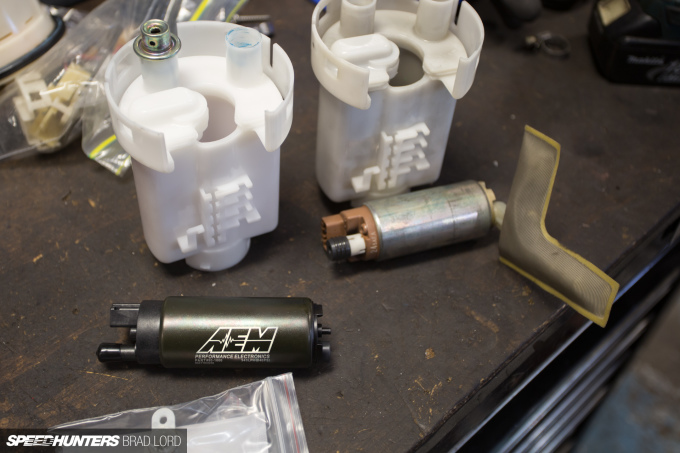
Before I placed the order with AEM I should have really checked what I was replacing though, because if I had done that I would’ve realised that the factory fuel pump in my car is actually quite short. I knew that AEM had both gasoline and E85-compatible fuel pumps in the common 39mm diameter; what I didn’t realise is that they offer them in two lengths, and the compact option would have likely dropped straight into the new filter housing with no fuss at all.
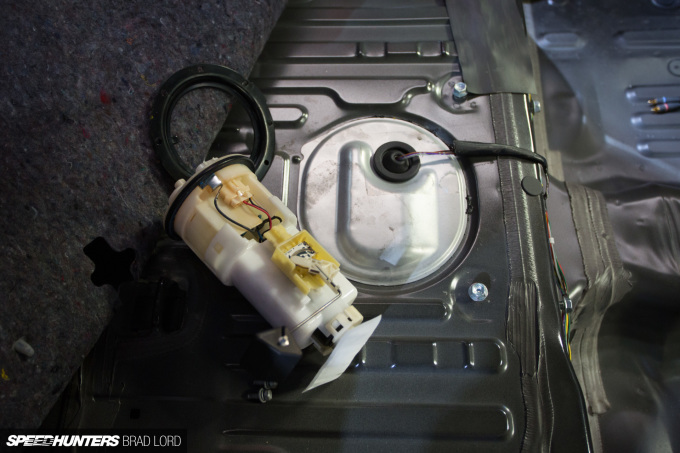
Never mind though, because after a few subtle modifications to the cradle we had the regular size AEM 340LPH (liters per hours at 40psi) pump fitted, which just left the factory plug to be re-pinned with the supplied AEM flying lead. I should also mention that the pump came with a rubber sleeve and end caps, pre-filter, hose, and clamps – in other words, everything you’d ever need to install it.
As for the injectors, I’ve found an OEM parts bin solution for those that’ll be covered off in due course.
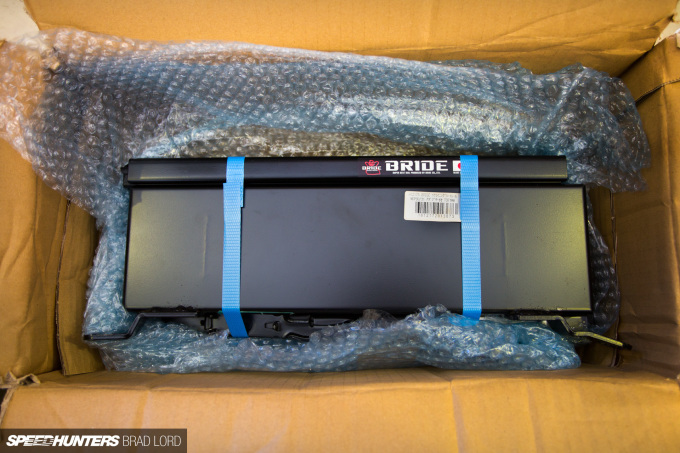
I’m going to wrap this up here, but I’ll be back very soon (I promise) with another Project bB update, this time focussing on the interior, which can completely go back together now that the final goodies from Japan have arrived.
Brad Lord
Instagram: speedhunters_brad
brad@speedhunters.com