
How To Create Custom Keyboard Shortcuts On Windows 10
by Amarnath ChakrabortyIf you have been using Windows 10 for a while, then you might know that the operating system has lots of keyboard shortcuts or hotkeys to perform different things. For example, you can press Windows Key + R to open the Run dialog box.
Similarly, there are lots of hotkeys we use at regular intervals. However, sometimes the pre-existing keyboard shortcuts are not enough and we feel like creating our own keyboard shortcuts to carry out different things.
On Windows, it’s actually possible. You can create your own keyboard shortcuts to complete tasks that you regularly do. So, in this article, we are going to share a working method to create your own keyboard shortcuts on Windows.
How To Create Custom Keyboard Shortcuts On Windows 10
To create keyboard shortcuts, we are going to use software known as WinHotKey. It allows users to create their own keyboard shortcuts on Windows 10 without playing with the registry file. So, let’s check out how to use WinHotKey to create custom keyboard shortcuts on Windows 10.
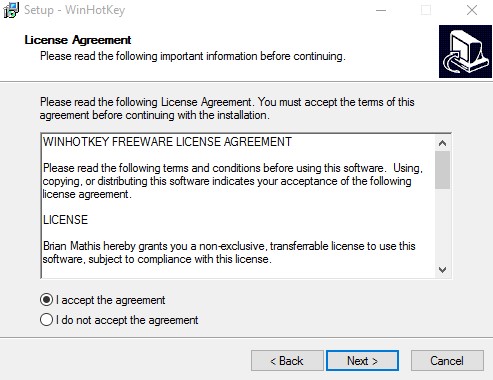
Step 1. First of all, download & install WinHotKey from this link. Once done, open the software.
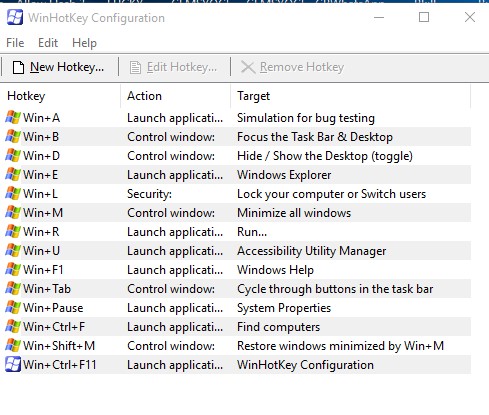
Step 2. Now you will see an interface like below.
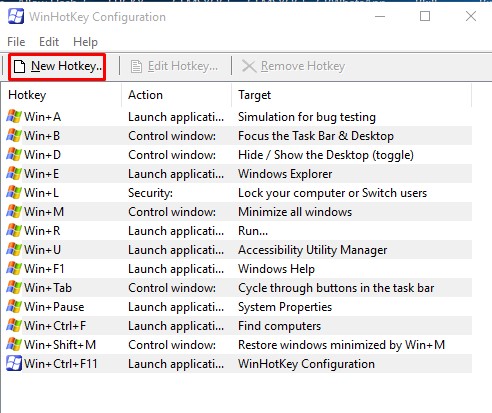
Step 3. Here you need to click on the ‘New Hotkey’ option.
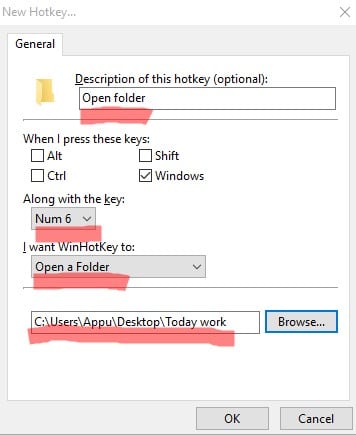
Step 4. Now you need to select the key combinations. For example, you can select Windows + Num lock key to open certain programs. You need to locate the patch of the executable or folder.
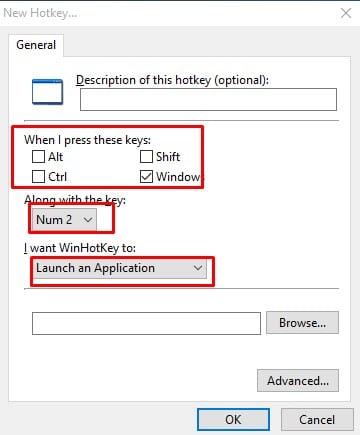
Step 5. Similarly, you can also open any folder using the hotkeys. Just select the keyboard combination and locate the path of the folder using the ‘Browse’ button.
That’s it! You are done. This is how you can maximize your productivity on Windows 10 by using WinHotKey.
So, this article is all about how to create custom keyboard shortcuts on Windows 10 without any hacks or workarounds. If you have any doubts related to this, let us know in the comment box below. I hope this article helped you! Share it with your friends also.