New to Mac? 15 tips and tricks for macOS beginners
by Sandy Writtenhouse
When you get your first Mac, you spend some time getting used to it. You figure out where items are located, set up apps like Messages and Mail, and prop a cool wallpaper on the screen.
After a while, you might be ready to learn some shortcuts for using Mac that help you do things faster or easier. So for you, we have this big list of tips and tricks for macOS beginners.
Mac tips and tricks for beginners
- Get words as you type
- Spotlight Search for quick calculations
- Force quit window
- Delete files quickly
- Screenshot the entire screen
- Open apps on startup
- Accents on letters
- Access the emojis
- Show and hide menu bar
- Change volume in smaller increments
- Delete forward
- Merge Finder windows
- Batch rename files
- Use Split View
- Move your Dock to another screen
1. Get words as you type
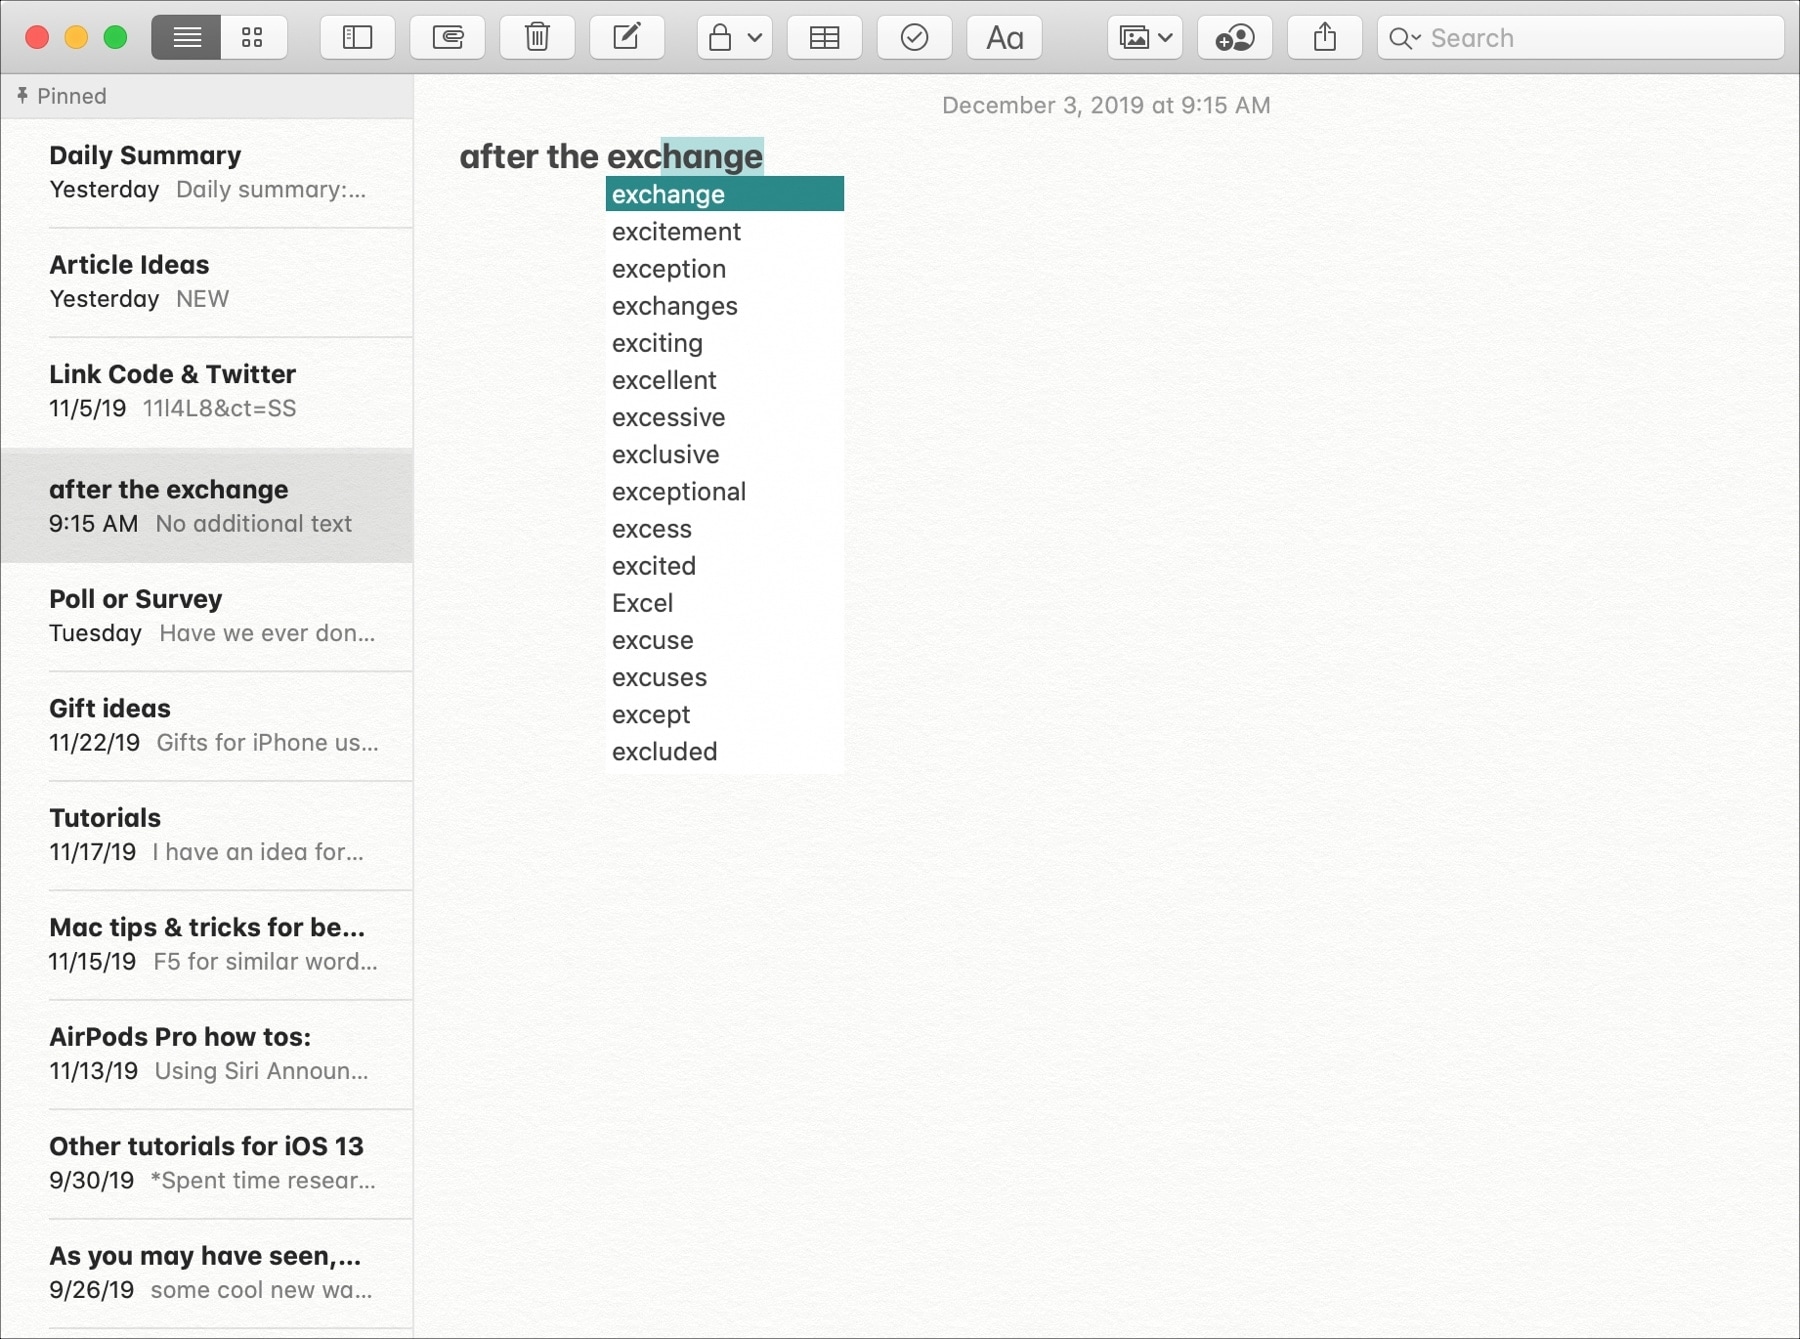
Whether you’re composing an email or writing up a note, you might be unsure how to spell a word. Rather than use a dictionary, just use a keyboard shortcut F5. This will show you words starting with the letters you’ve typed so far. Then you can just select the word you want and keep writing.
2. Spotlight Search for quick calculations
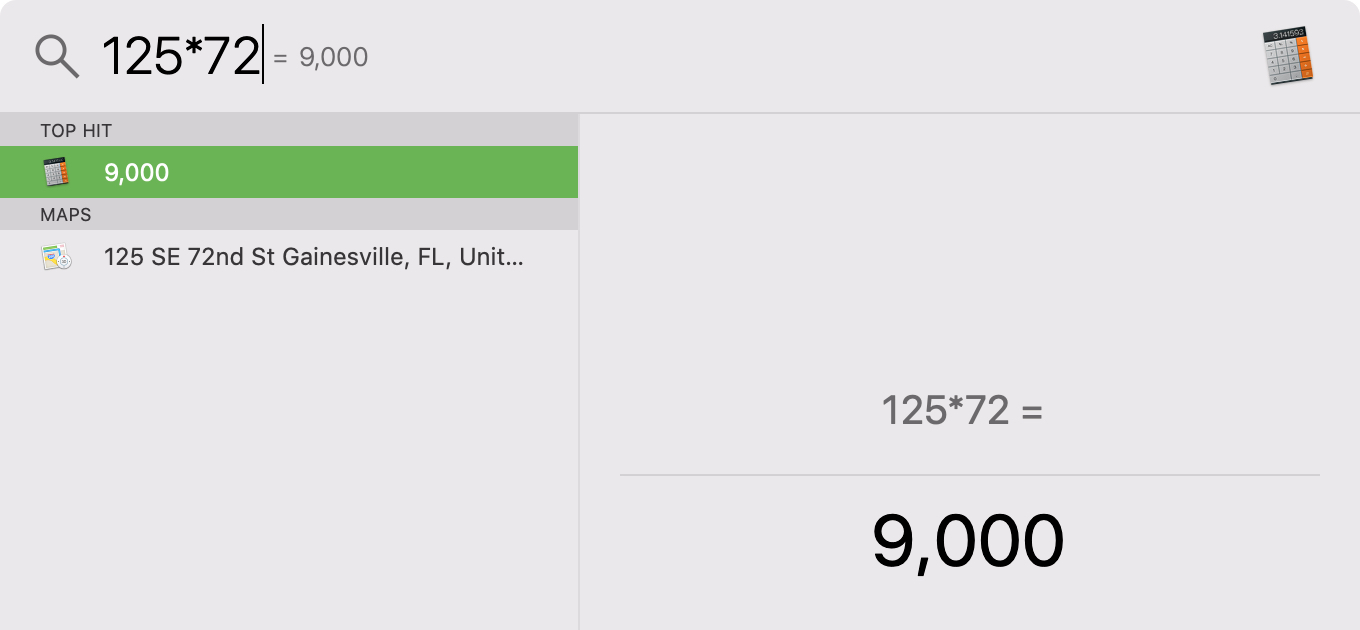
You don’t have to open the Calculator to do calculations. For simple equations, you can add, subtract, multiply, and divide using Spotlight Search. Just open the Search and pop in the calculation you want.
3. Force quit window
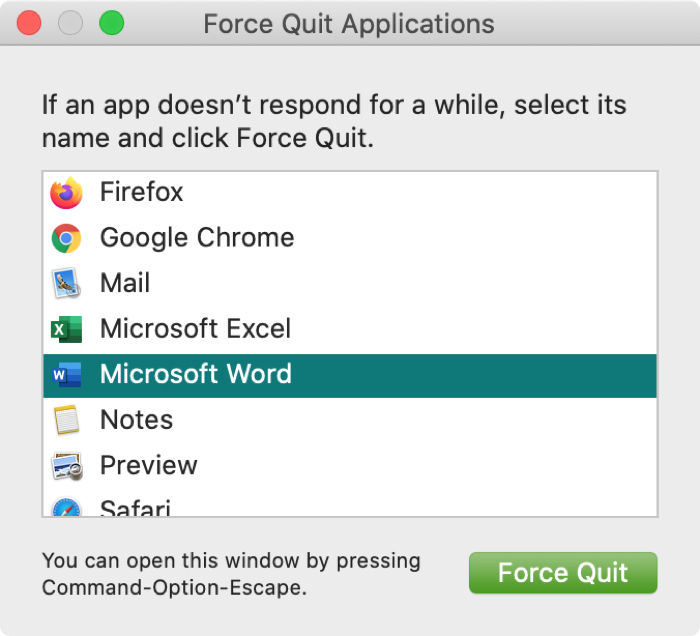
If you’re used to using Control + Alt + Delete on Windows to force quit an application, you’ll need to get used to a different shortcut on macOS. Hit Command + Option + Escape to open the force quit window.
4. Delete files quickly
Another cool shortcut you can use on Mac is to delete files. Instead of dragging them to the Trash or using the right-click shortcut menu, just select the item and hit Command + Delete.
5. Screenshot the entire screen
Mac has a cool tool for capturing your screen that you can access with Command + Shift + 5. But for a fast screenshot of your entire screen, just use Command + Shift + 3.
6. Open apps on startup
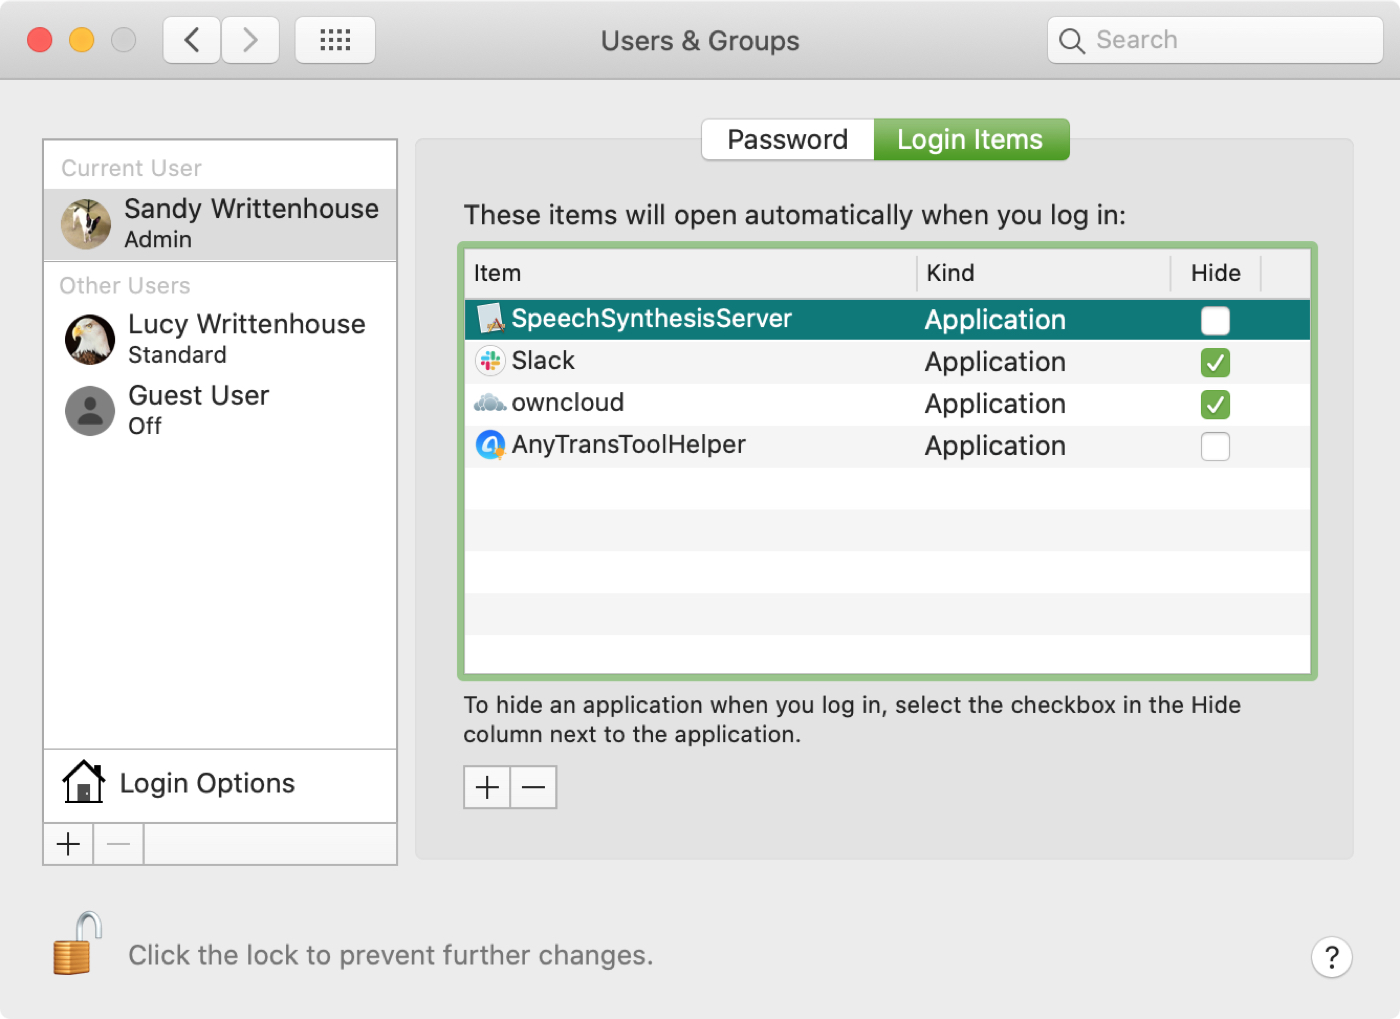
If you start each day by opening the same apps on your Mac, you can make this much easier. Set up your Mac so that the same apps open automatically when you start your computer.
Open System Preferences > Users & Groups. Select your username and click Login Items at the top. You can then check the boxes for those apps in the list or add more using the plus sign button.
7. Accents on letters
If you need to use a letter that has an accent, you don’t have to search for a special character. Just press and hold the key on your keyboard. A selection of accented letters based on that key will display for you to pick the one you want.

8. Access the emojis
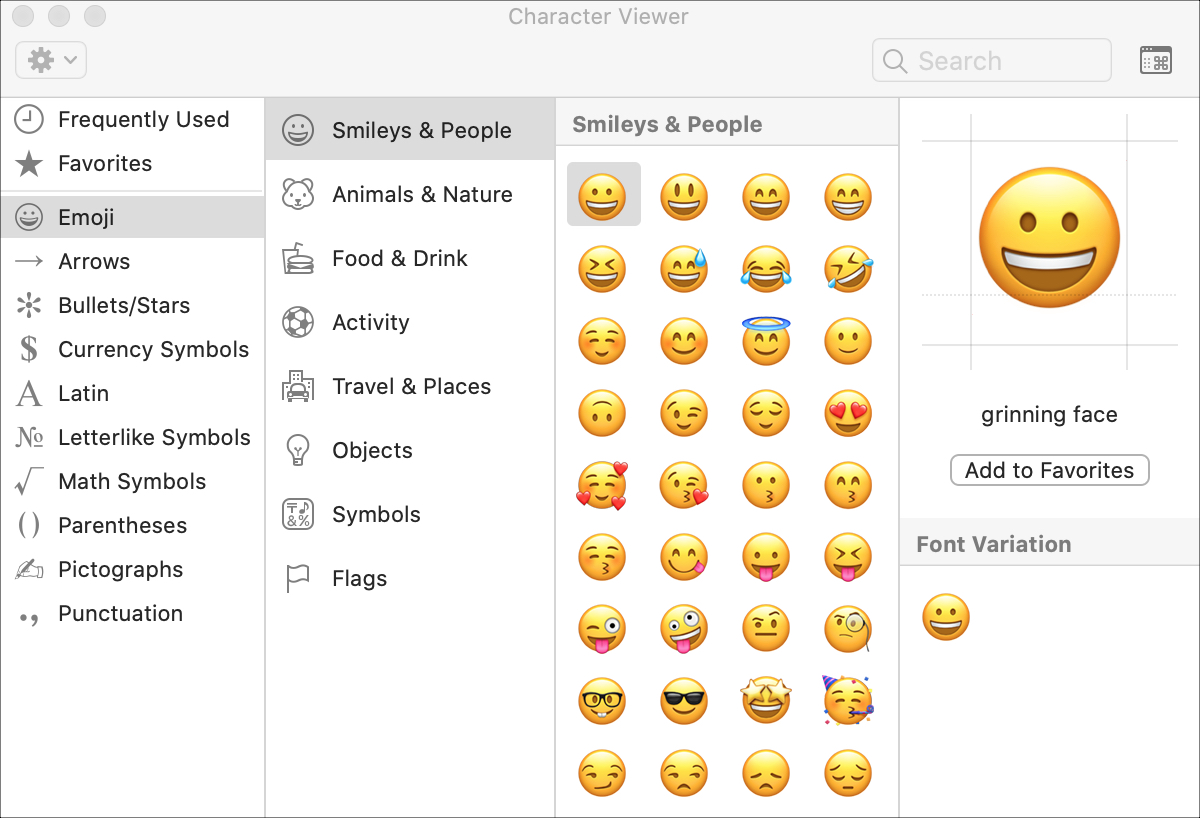
You have a really cool collection of emojis along with special characters on your Mac. And without jumping through hoops, you can open them with a keyboard shortcut. Press Control + Command + Space and the window will pop open.
9. Show and hide the menu bar
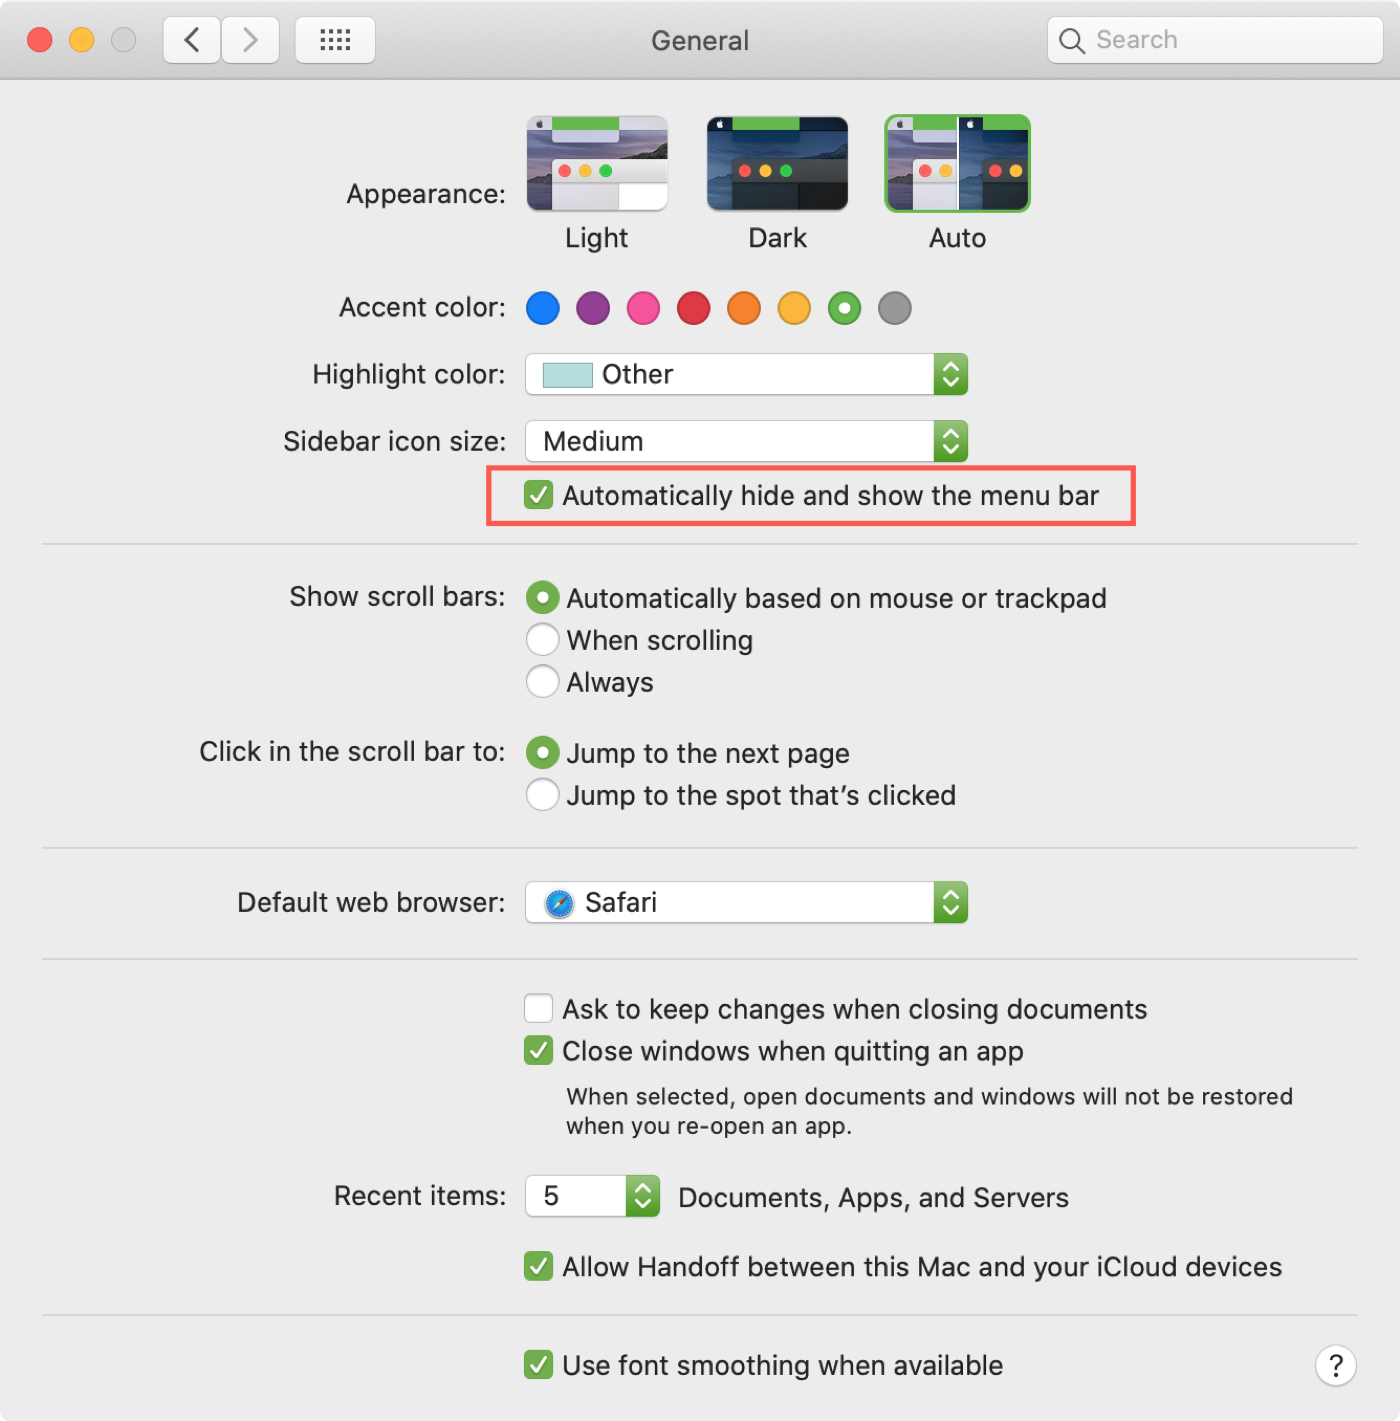
While the menu bar is handy for navigation, there may be a time when it gets in your way. Luckily there’s a simple way to keep it hidden when you don’t need it.
Open System Preferences > General. Towards the top, check the box for Automatically hide and show the menu bar. You should immediately see your menu bar vanish. To show it again, just move your cursor to the top of the screen.
10. Change volume in smaller increments
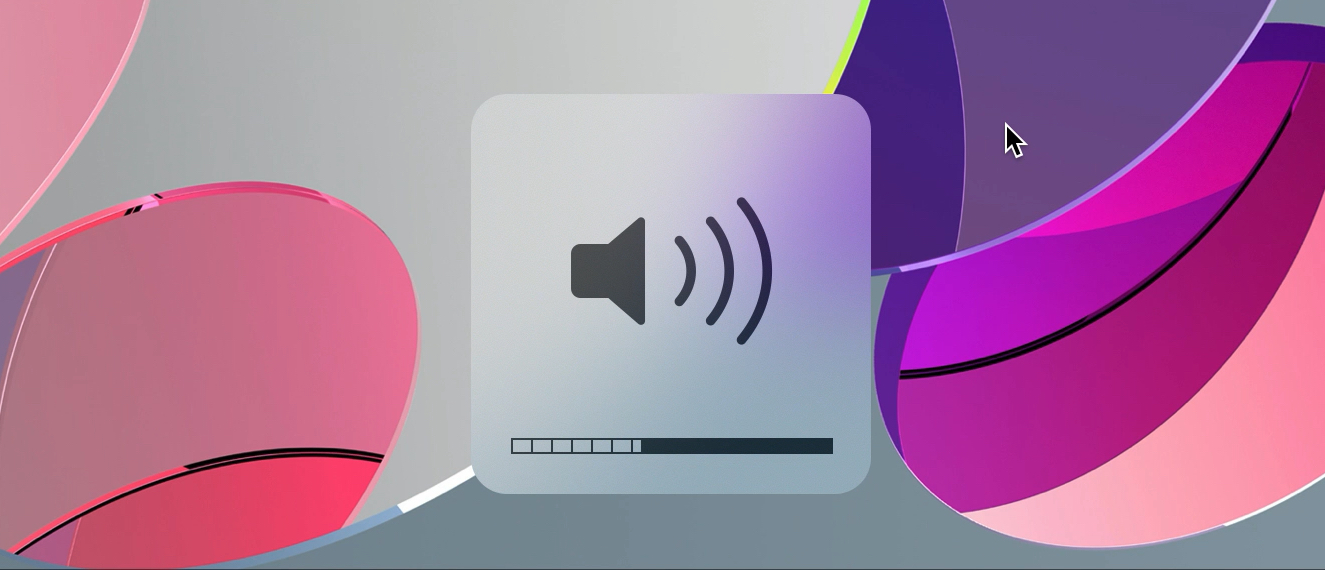
You can easily increase or decrease the volume on your Mac using Fn with the volume buttons. But if you want to change the volume in smaller increments, hold Shift + Option with Fn and the volume buttons. You’ll see the indicators for the volume move in smaller amounts.
11. Delete forward
If you’re switching from a Windows computer, then you’re used to having both Delete and Backspace keys on your keyboard. Delete removes letters forward and Backspace removes letters backward.
But on Mac, you only have Delete, which works like Backspace removing letters backwards. So if you want to remove letters forward, use the keyboard shortcut Fn + Delete.
12. Merge Finder windows
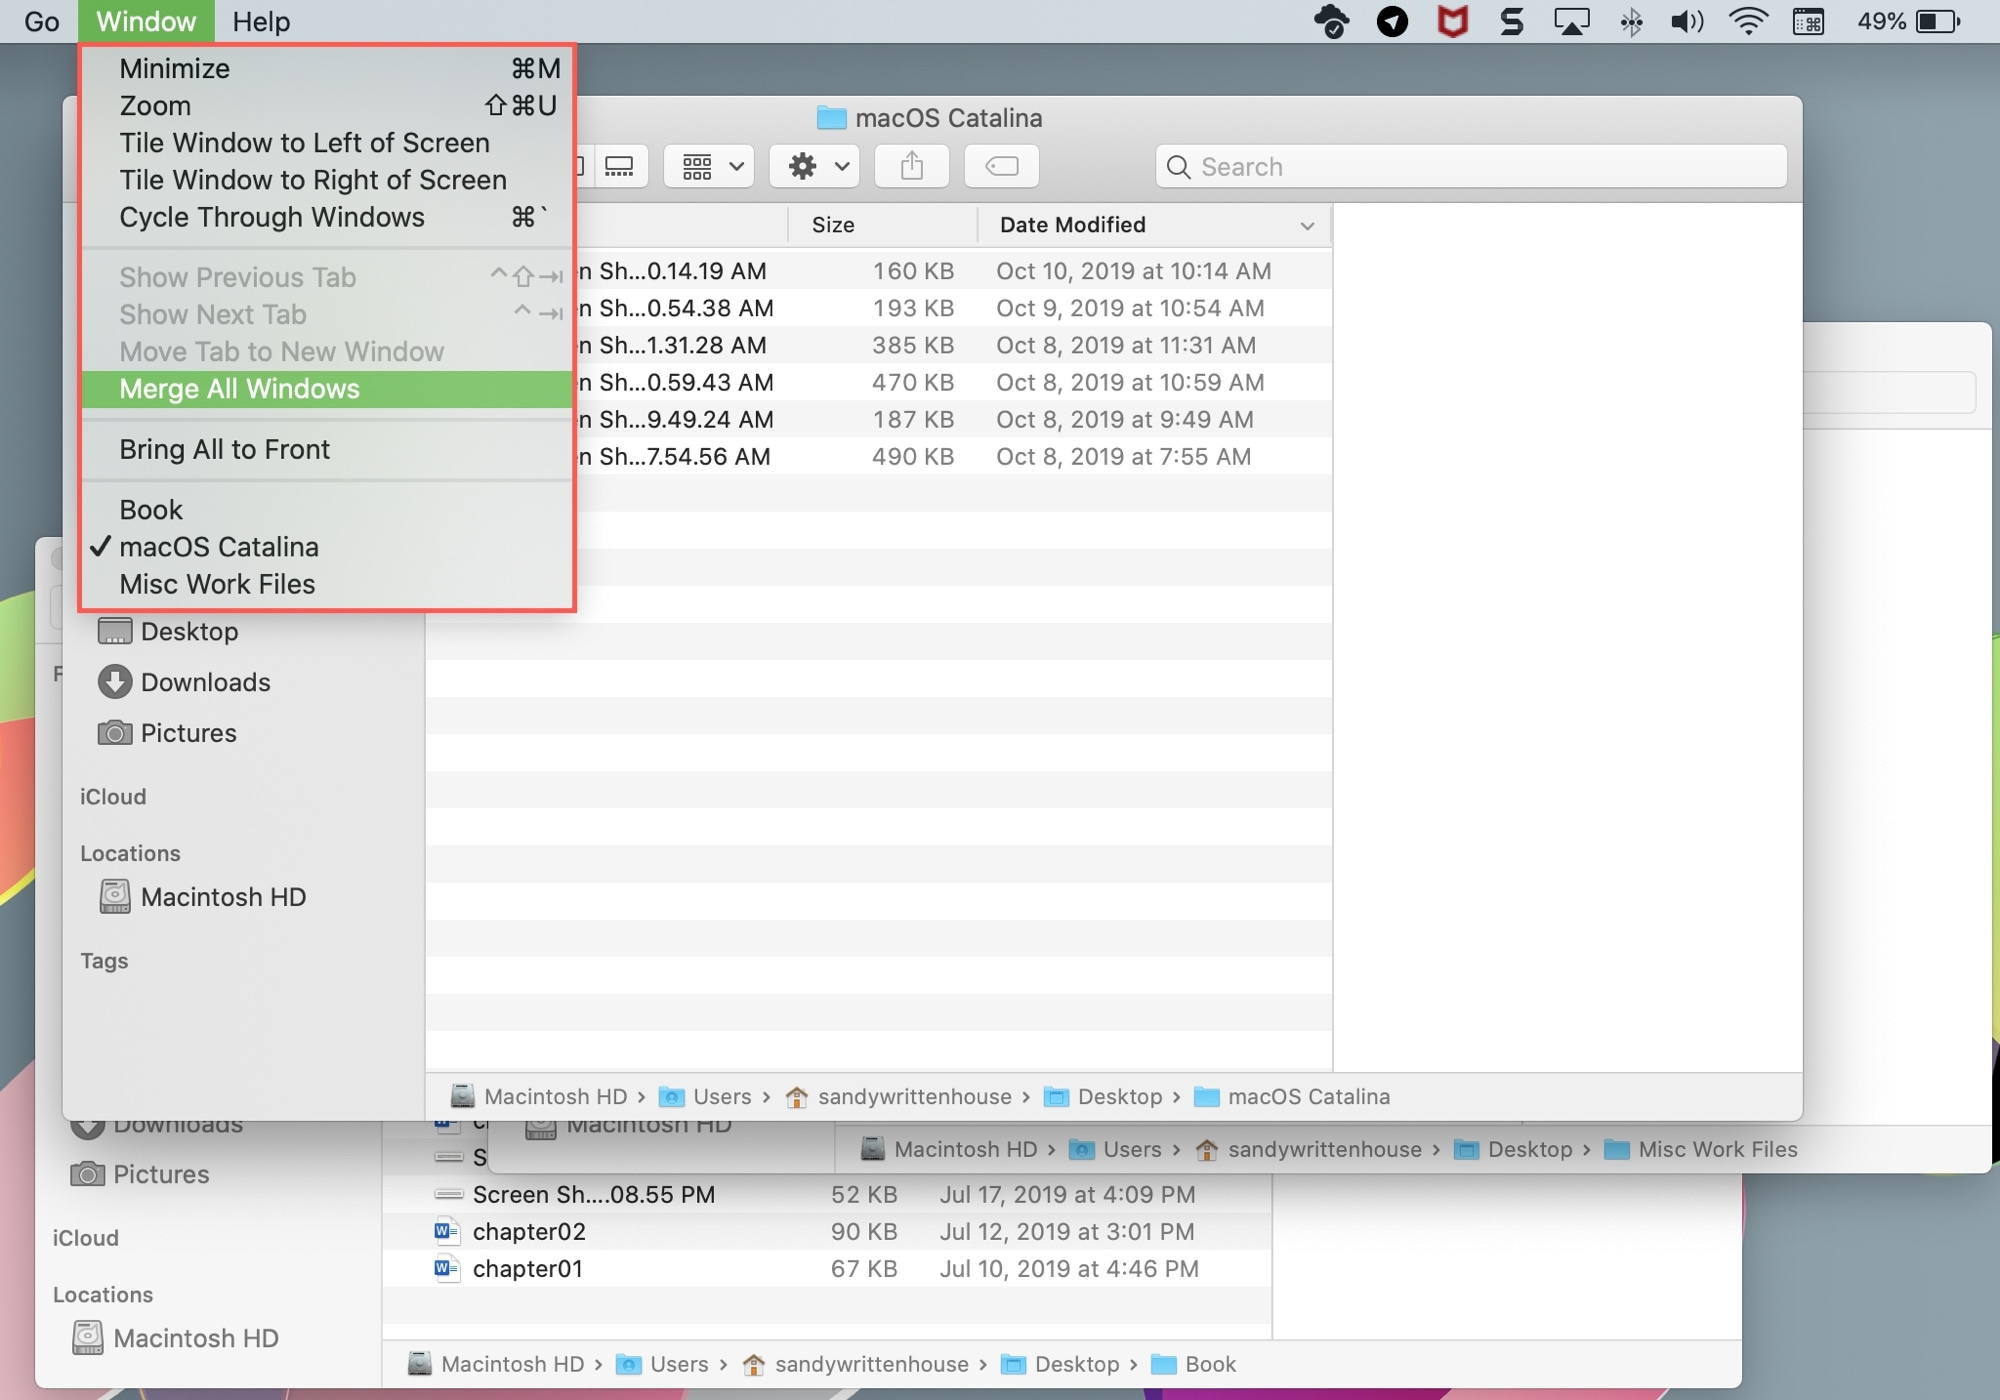
While you can use tabs in Finder to view multiple windows, you might open new ones without thinking to use tabs. But you can easily clear up the clutter by merging your open Finder windows.
With them all open and active, click Window > Merge All Windows from the menu bar. You’ll then see all of your open Finder windows combined into one using tabs for each.
13. Batch rename files
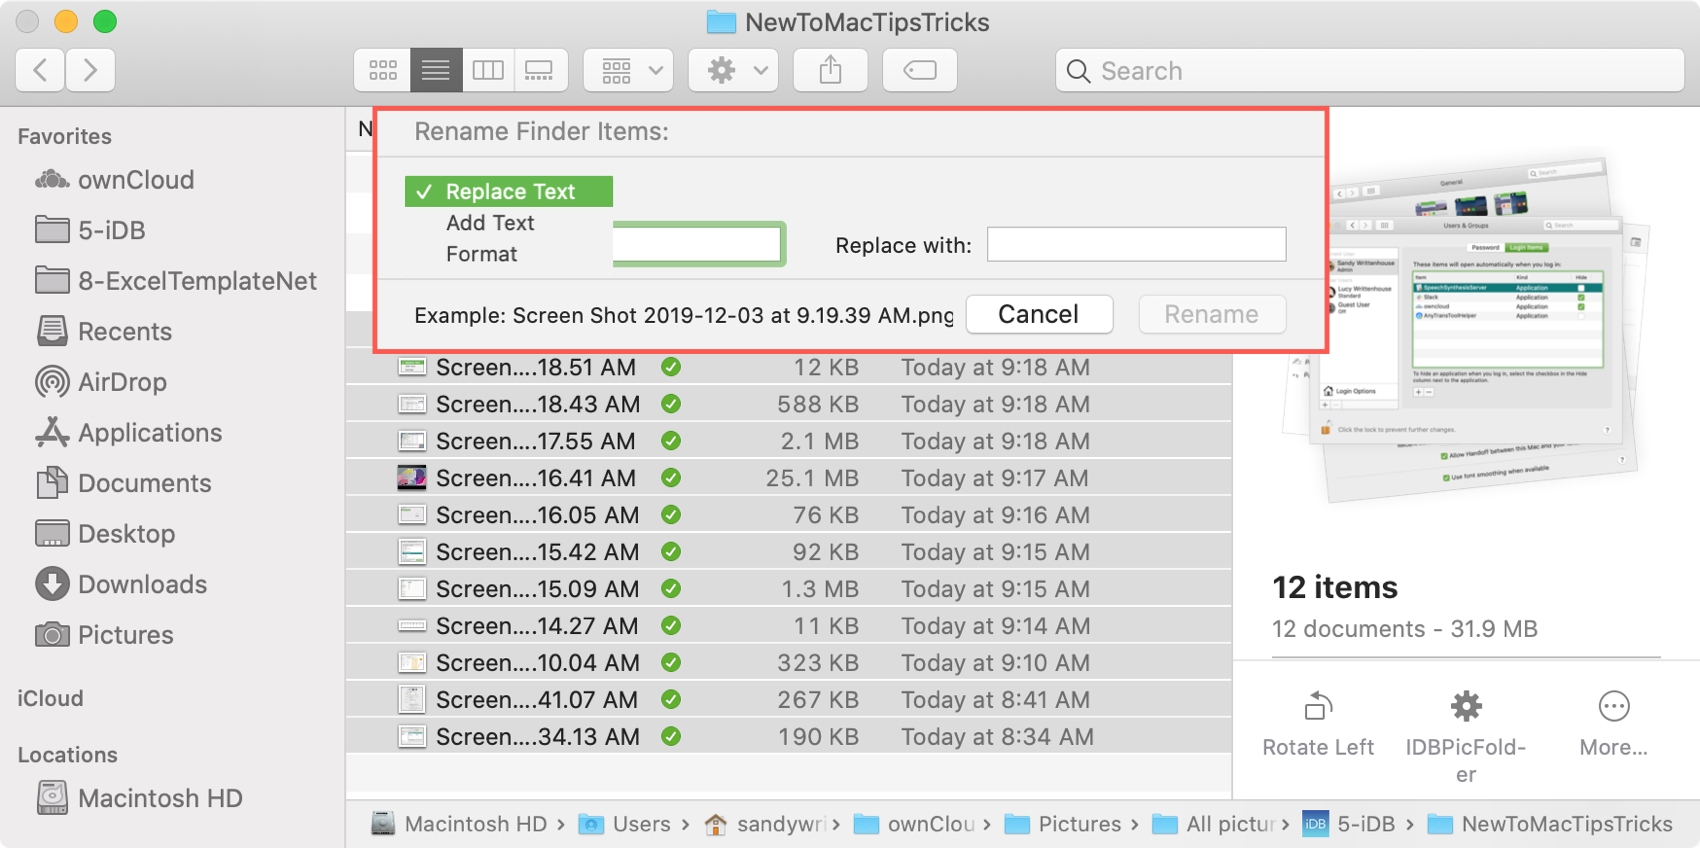
You can easily rename files one by one, but if you want to rename a group of files to something similar, there’s a fast way to do it. Select the files you want to rename, right-click, and choose Rename X Items. You’ll get a pop-up window where you can replace the text in the current filenames with whatever you like.
14. Use Split View
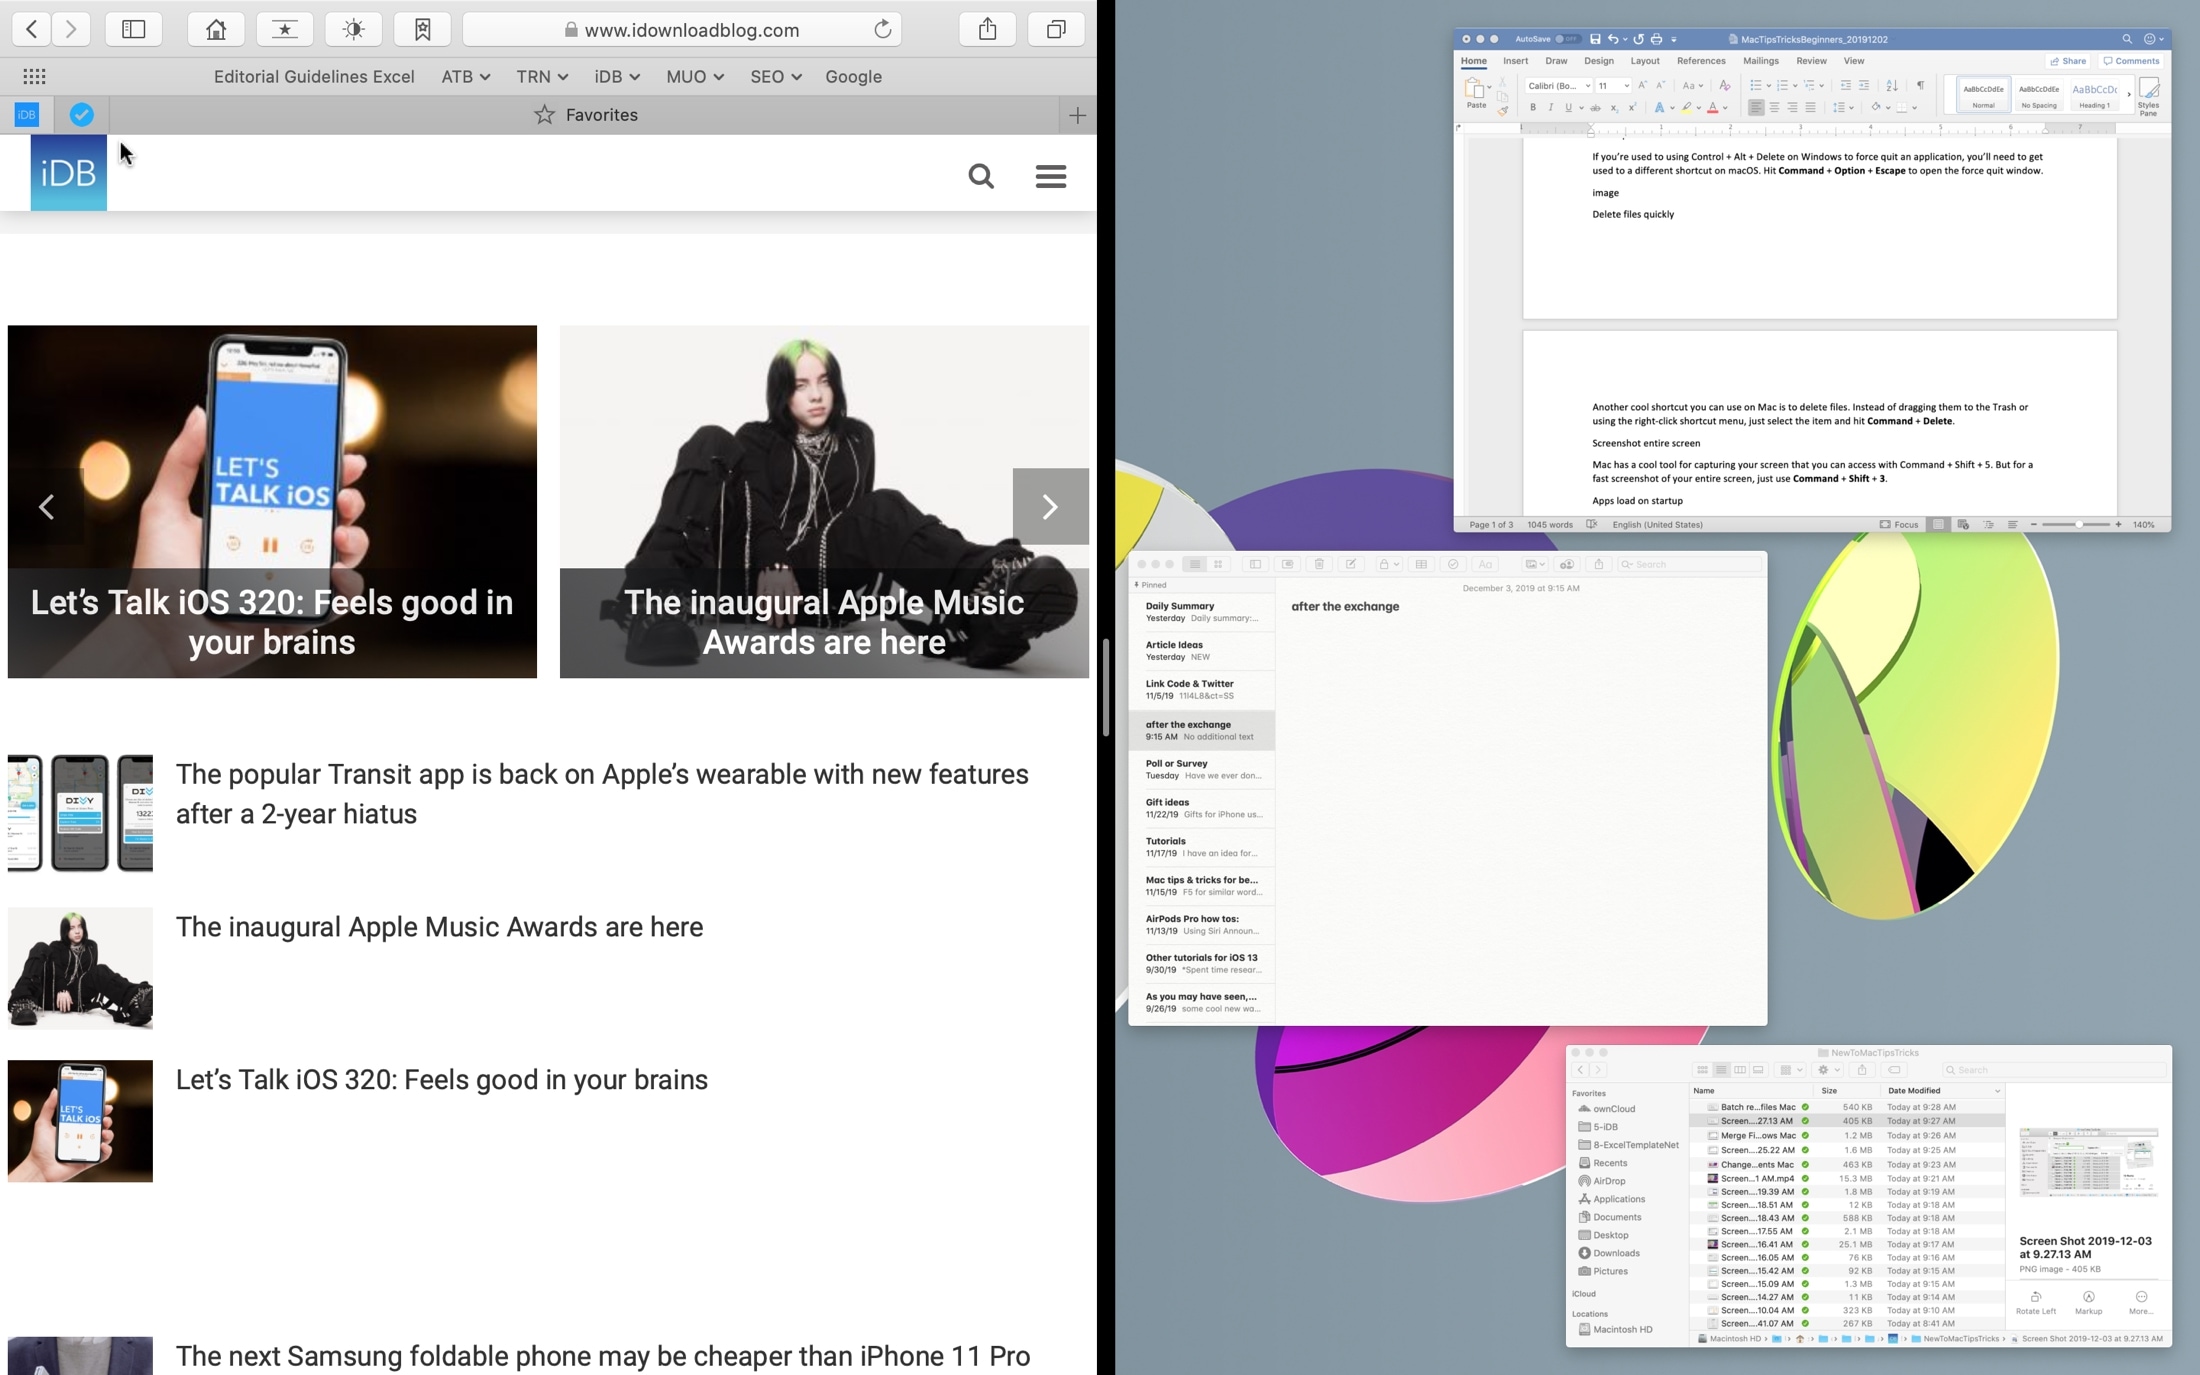
Create more workspace on your Mac by using the Split View feature. This lets you put two apps side-by-side in a full-screen view.
Put your cursor over the green button on the top left of the first app’s window. You can then choose to put that window on the left or right of the screen. Once you do, you’ll see which windows are available to use on the other side of the screen. Just click the one you want and you’ll be in Split View.
15. Move your Dock to another screen
If you work with a dual monitor setup, you can put your Dock on whichever screen you want. The Dock will move automatically to your active window.
Go to the second screen and click to make it the active one, then move your cursor to where your Dock would be (bottom, left, or right). Your Dock will pop right up on that other screen.
Wrapping it up
Hopefully one or more of these Mac tips and tricks for beginners will be something you find useful. Be sure to let us know in the comments!
And if you have shortcuts of your own like these that you’d like to share with other macOS beginners, feel free to share it below or hit us up on Twitter!