How to use and manage Sign in with Apple
by Sandy Writtenhouse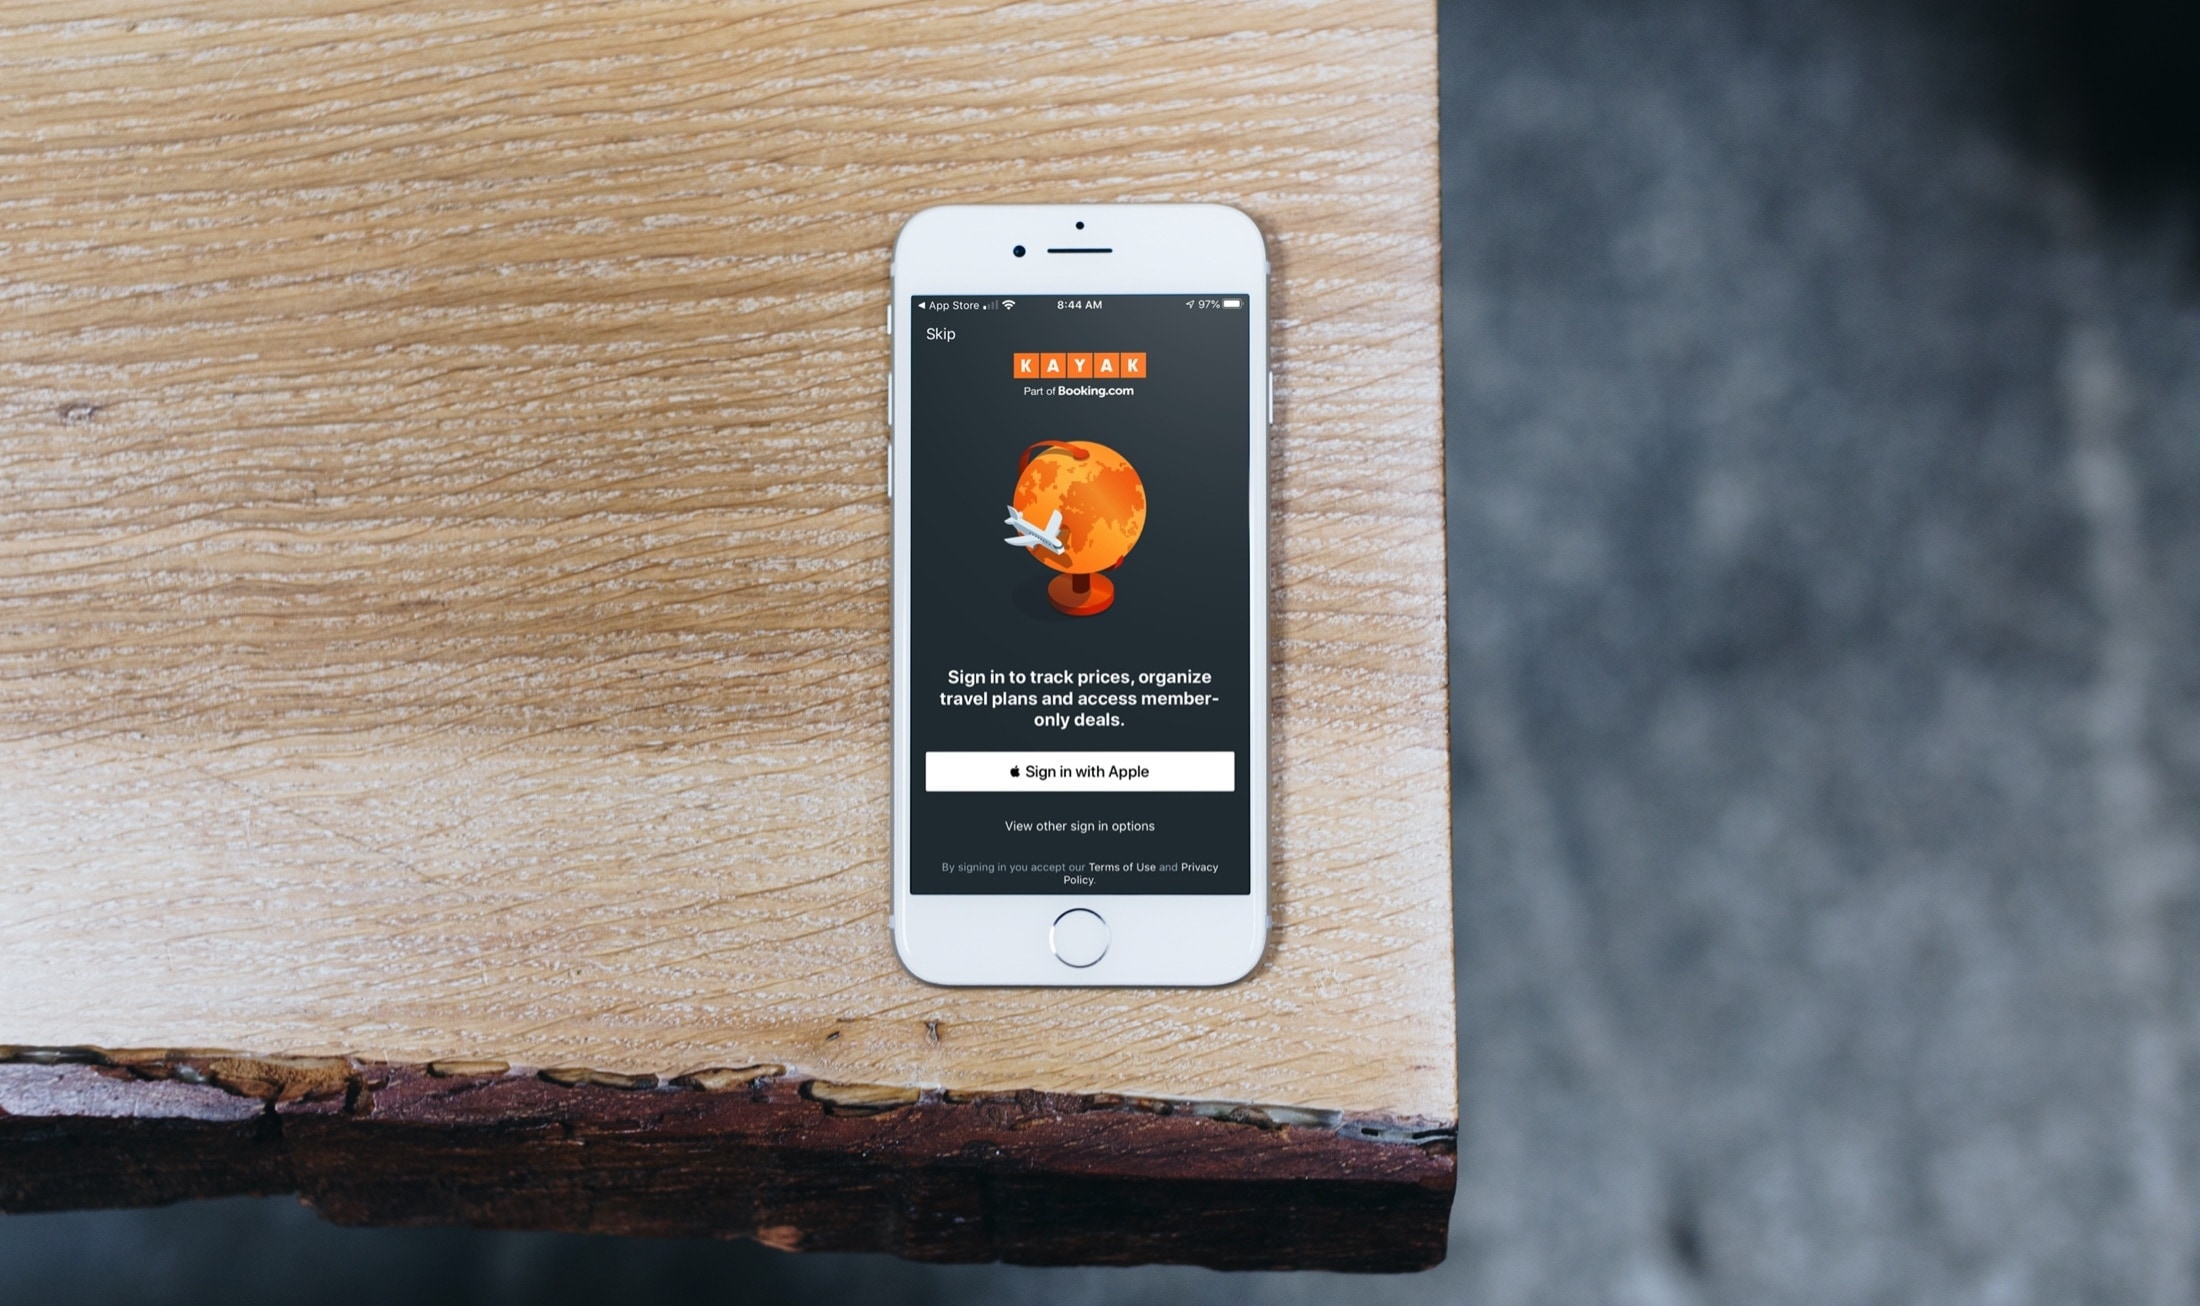
When you visit a new website or sign in to a new app or service, you’re often prompted to create a new account, giving up personal information like your email address, requiring you to make a password you’ll remember, and often having to go through an intrusive and frustrating process before you can even start using your new download. Keeping track of this info is a burden and putting that personal info in strangers’ hands can leave you feeling unsafe. That’s why Apple created Sign in with Apple. It’s a new way to sign up or sign in to apps and websites using your Apple ID instead of having to create a new account. The intent by Apple is “to respect your privacy and keep you in control of your personal information.”
So if you’ve seen this option on an app or website but weren’t quite sure about its workings, we’re here to help. Here’s how to use and manage Sign in with Apple.
Sign in with Apple
About the Sign in with Apple feature
Here are the basics about this new Apple feature:
- Your Apple ID must use two-factor authentication.
- You must be signed in to iCloud with that same Apple ID on your device.
- You must be age 13 or older and that age may vary by country or region.
- For apps that are participating in the program, you must be running iOS 13, iPadOS 13, watchOS 6, macOS Catalina 10.15, or tvOS 13 or later for each of these systems.
- You can use the feature on other platforms like Android or Windows and on a browser other than Safari.
And as Apple mentions, when you use the Sign in with Apple option, apps and websites can only ask you for your name and email address to set up an account.
Hiding your email
As you’ll see further in the tutorial, when you choose the Sign in with Apple option, you’ll get to decide if you want to share or hide your Apple ID email address.
If you decide to share it, the app or website developer will be able to identify you by your email address.
If you decide to hide it, a random email address will be generated for you and provided to that app or website developer. Emails you receive from them will go to that address and then be automatically forwarded to your Apple ID email address for increased privacy. You can reply to the email and still keep your email address private.
In addition, Apple states:
We don’t read or process any of the content in the email messages that pass through our relay service, except to perform standard spam filtering that’s required to maintain our status as a trusted email provider. All email messages are deleted from our relay servers after they’re delivered to you, usually within seconds.
If you hide your email and decide to change that later, you can do so. You can change the email address used or turn off the forwarding. Just access that app or website using the steps in the Manage the apps and sites section below.
How to use Sign in with Apple
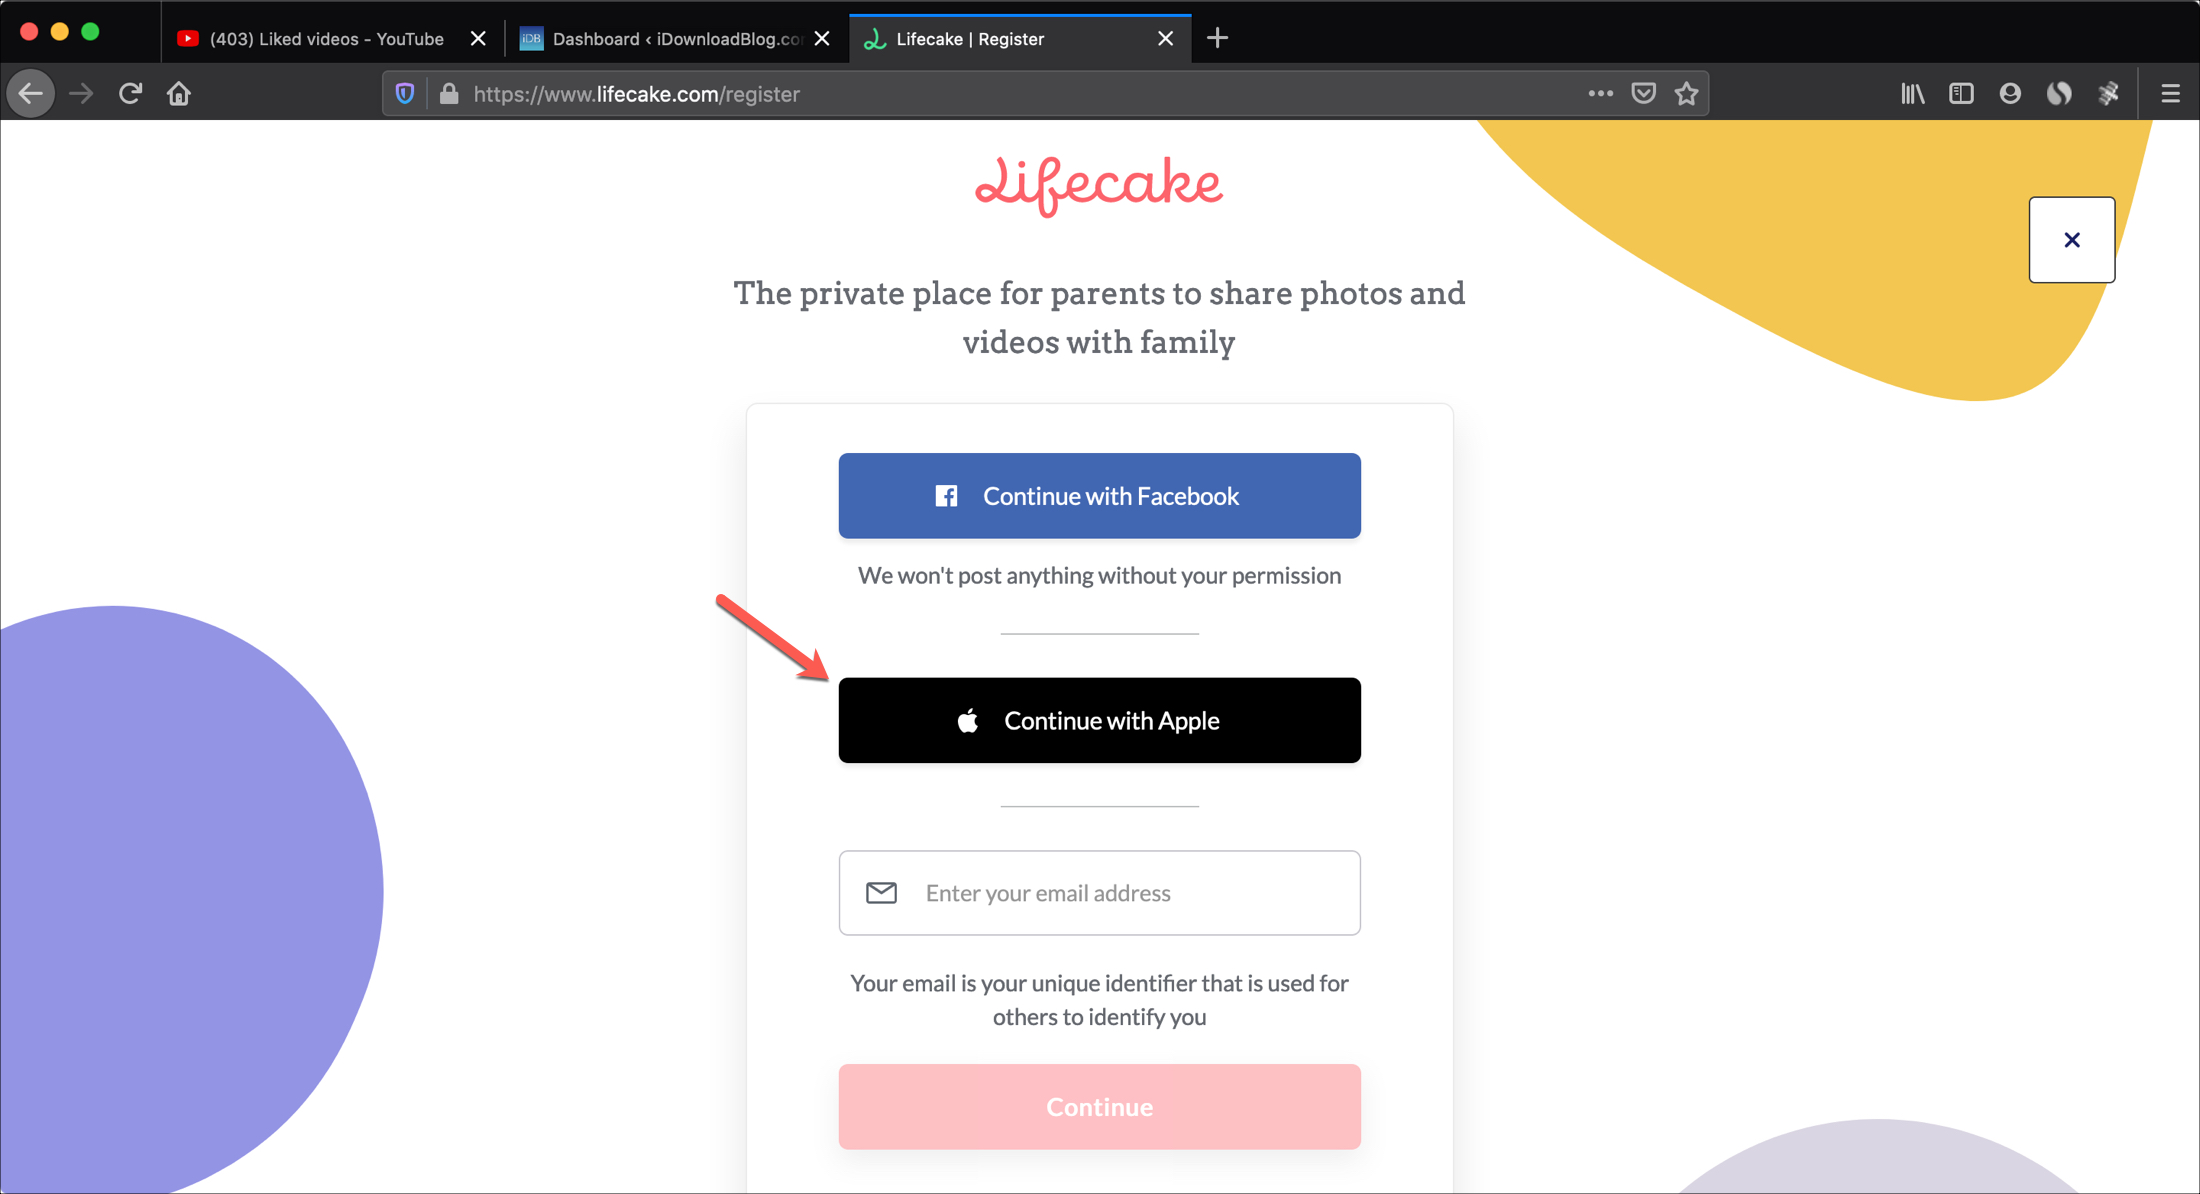
When you download an app from the App Store or visit a website, you might see an option to Sign in with Apple or Continue with Apple.
Sign in with Apple in apps
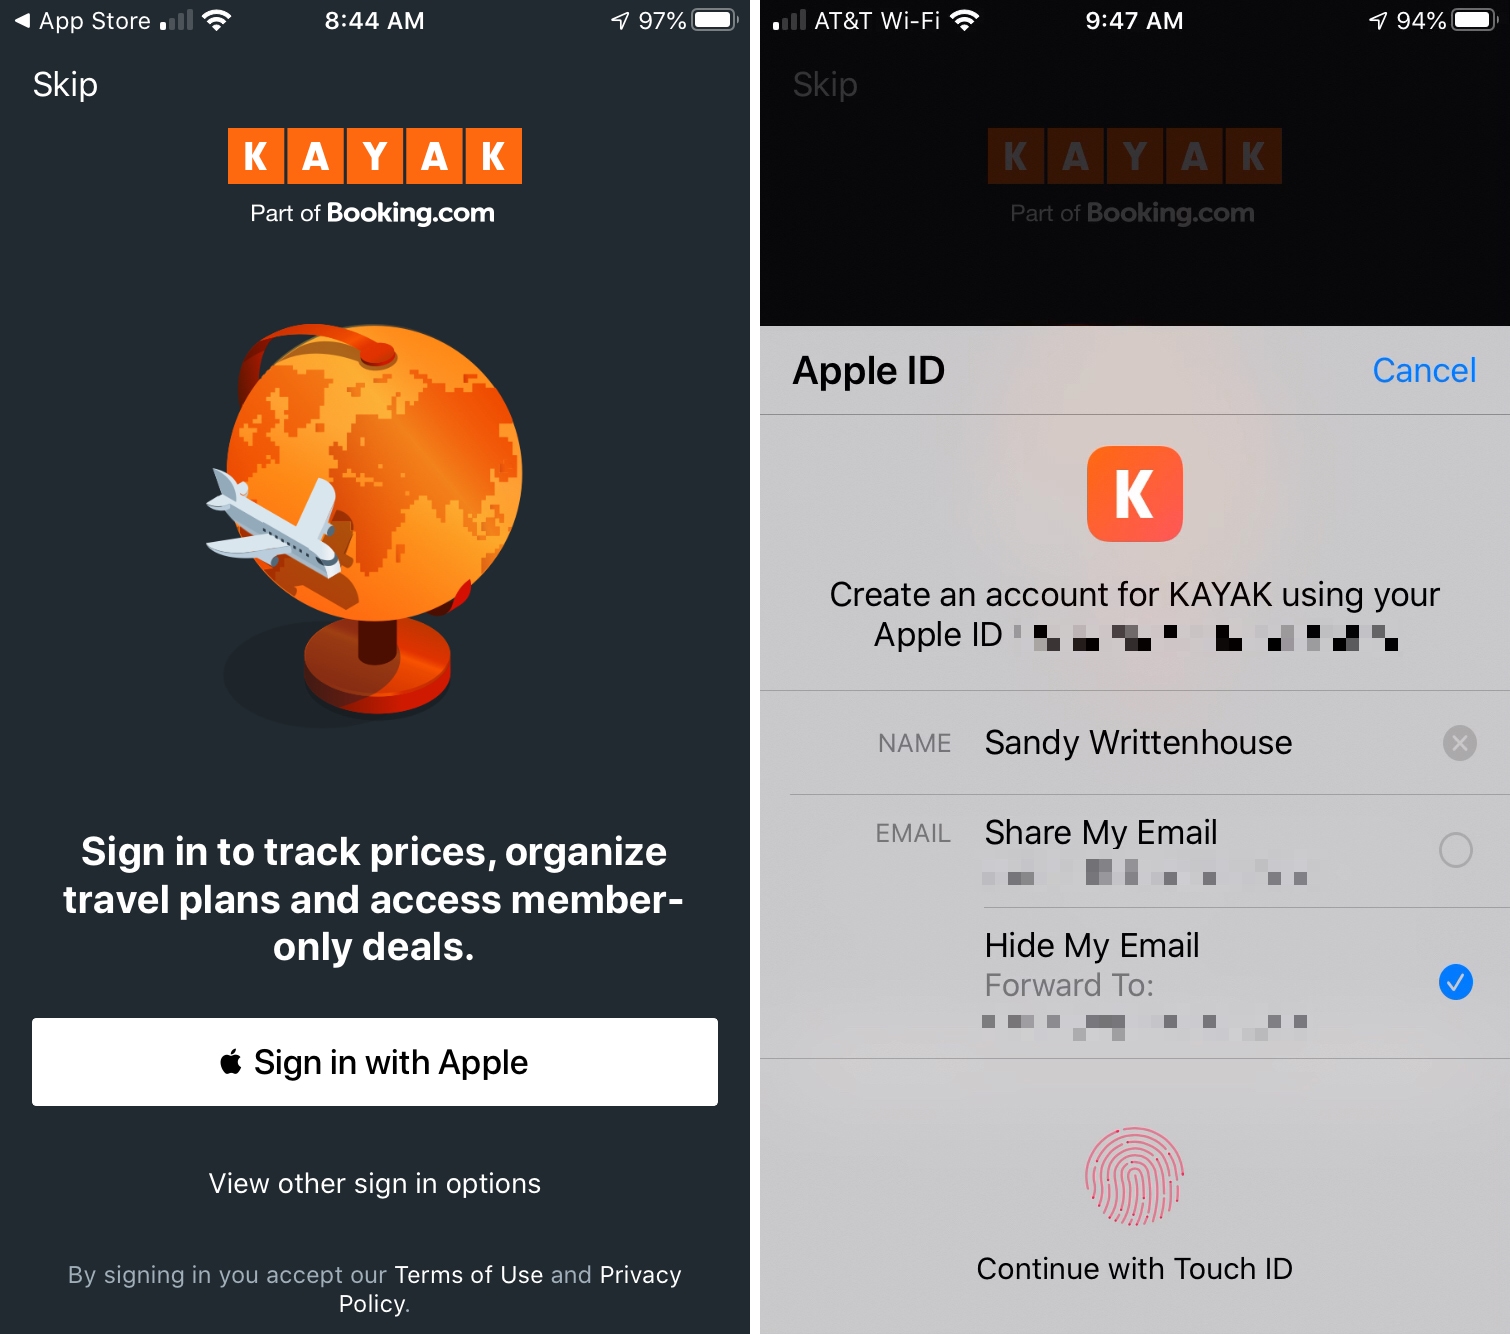
When you download an app on iOS from the App Store and Sign in with Apple is available, you’ll see the option clearly on the app screen. Once you select that option, you’ll select to Share or Hide your email and then continue to log in with Touch ID, Face ID, or your Apple ID password.
Apps you download from the Mac App Store work similarly. If you see the Sign in with Apple option and want to use it, click the button, decide if you want to Share or Hide your email, enter your Apple ID password, and you’re done.

Sign in with Apple on websites
Since the Sign in with Apple feature can be used when visiting a website with any browser, the options may differ when you hit that button to continue.
For instance, if you’re on your Mac and signed in while using Safari, you might see the following message explaining what the deal is with Sign in with Apple.
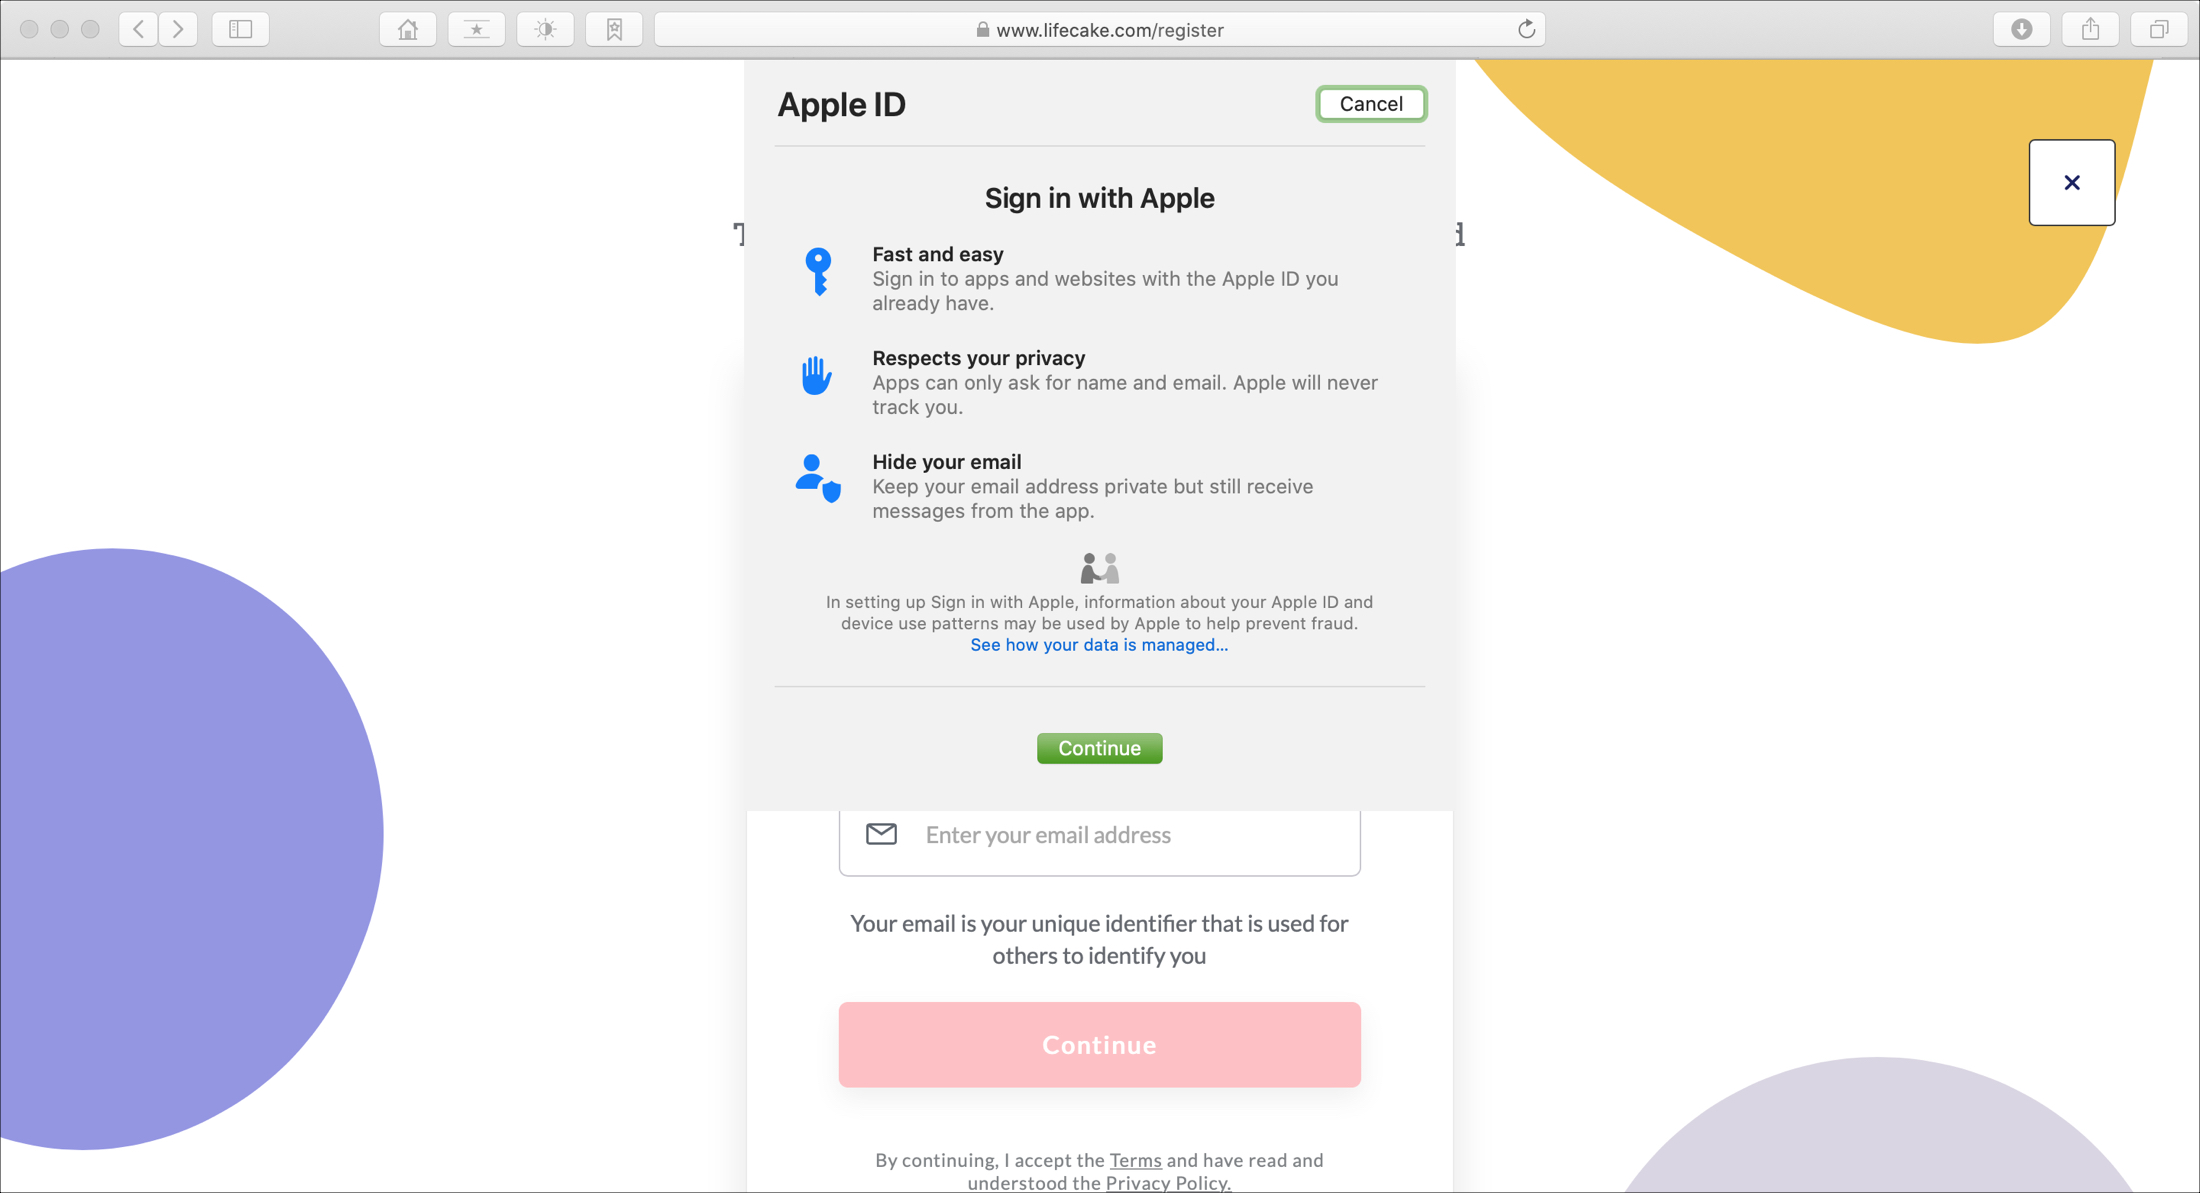
When you click to Continue, you have options to use a different Apple ID and either share or hide your email address.
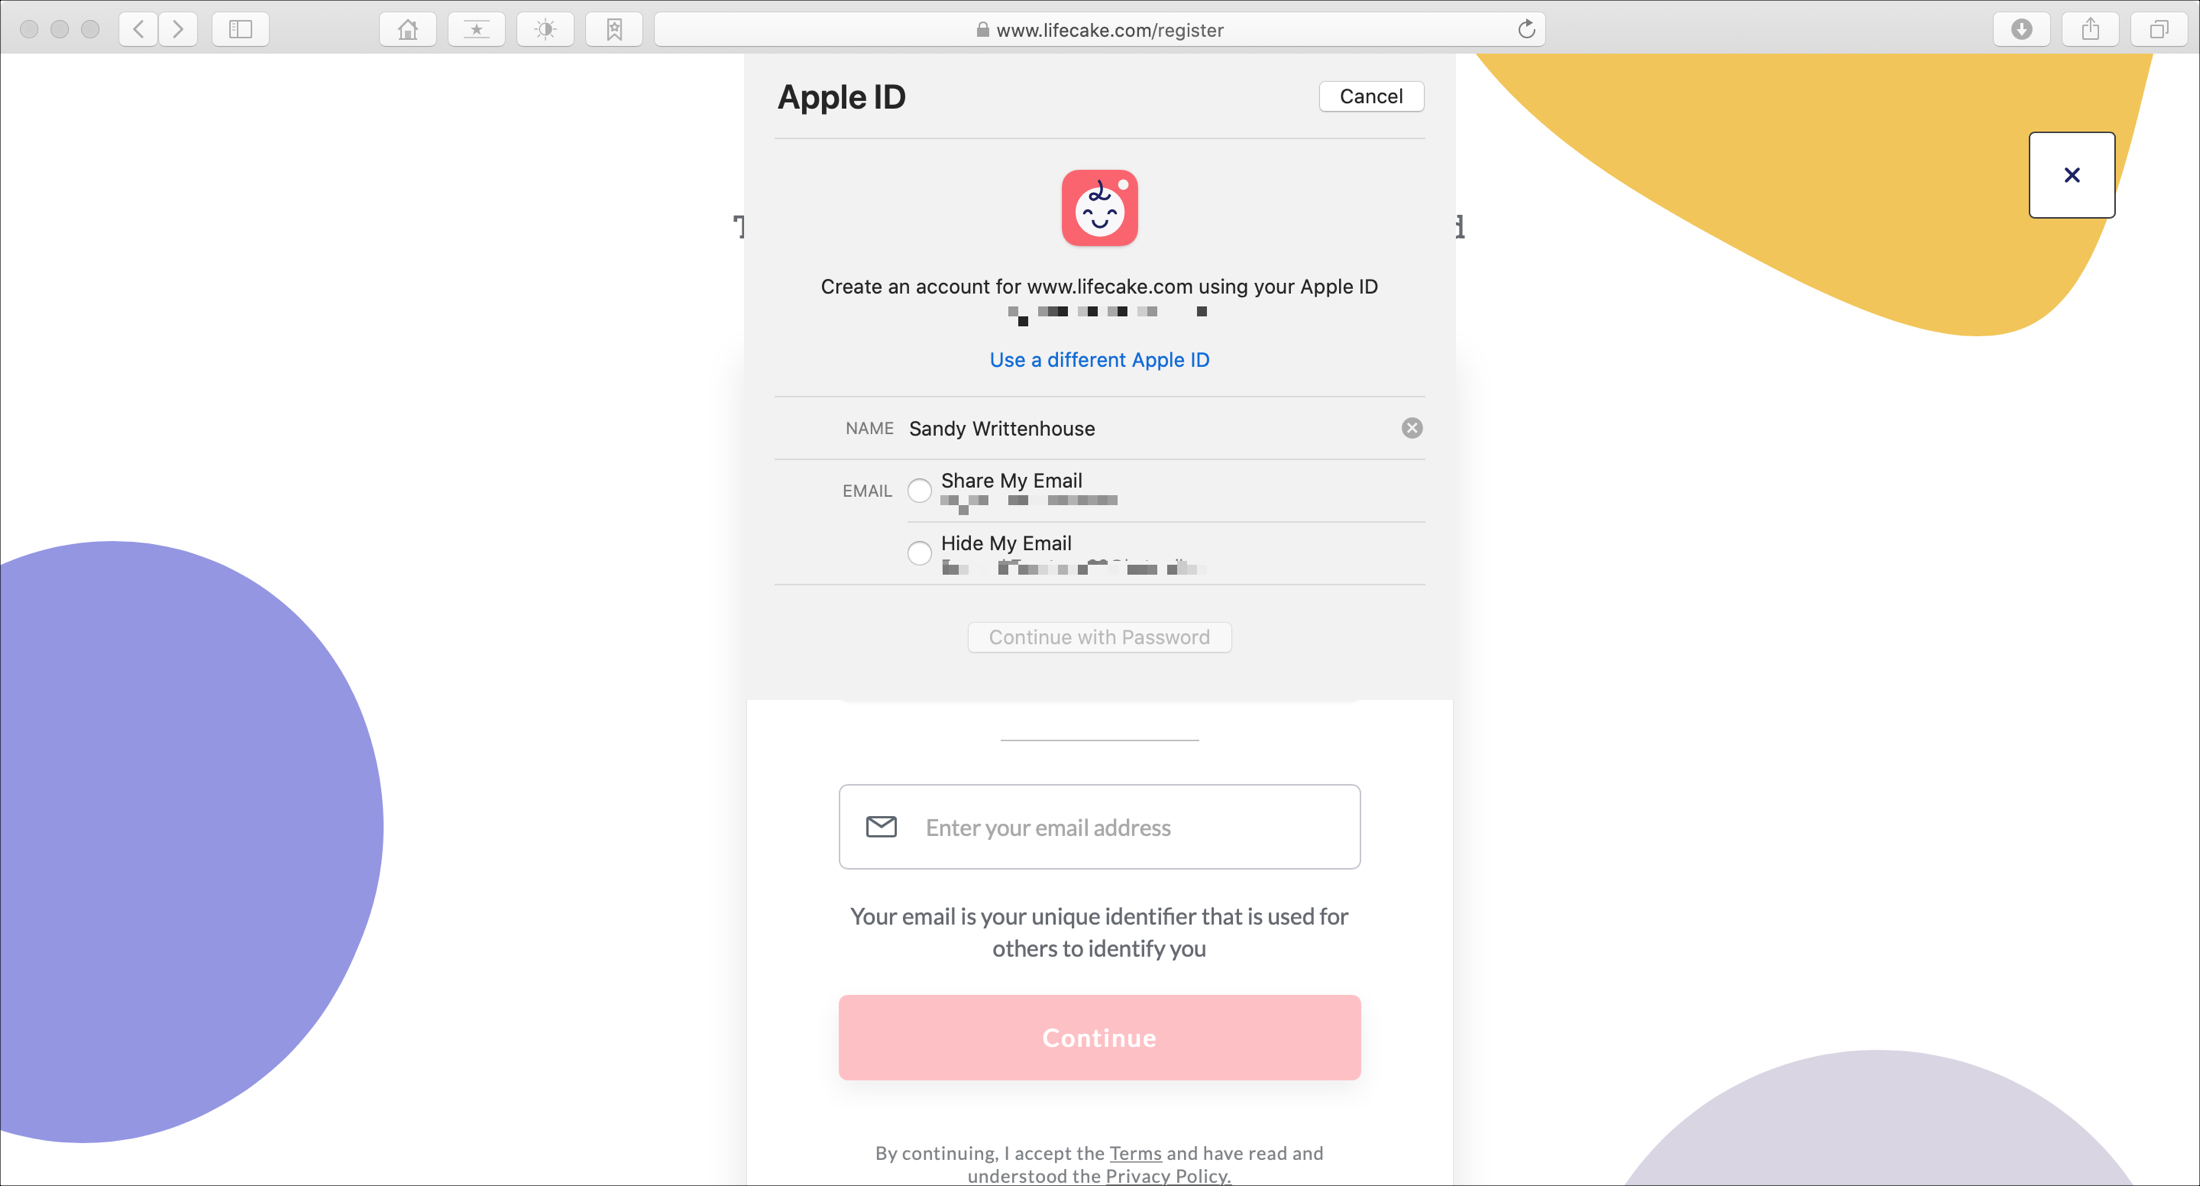
Click Continue with password when you’re ready, enter your Apple ID password when prompted, and you’re set.
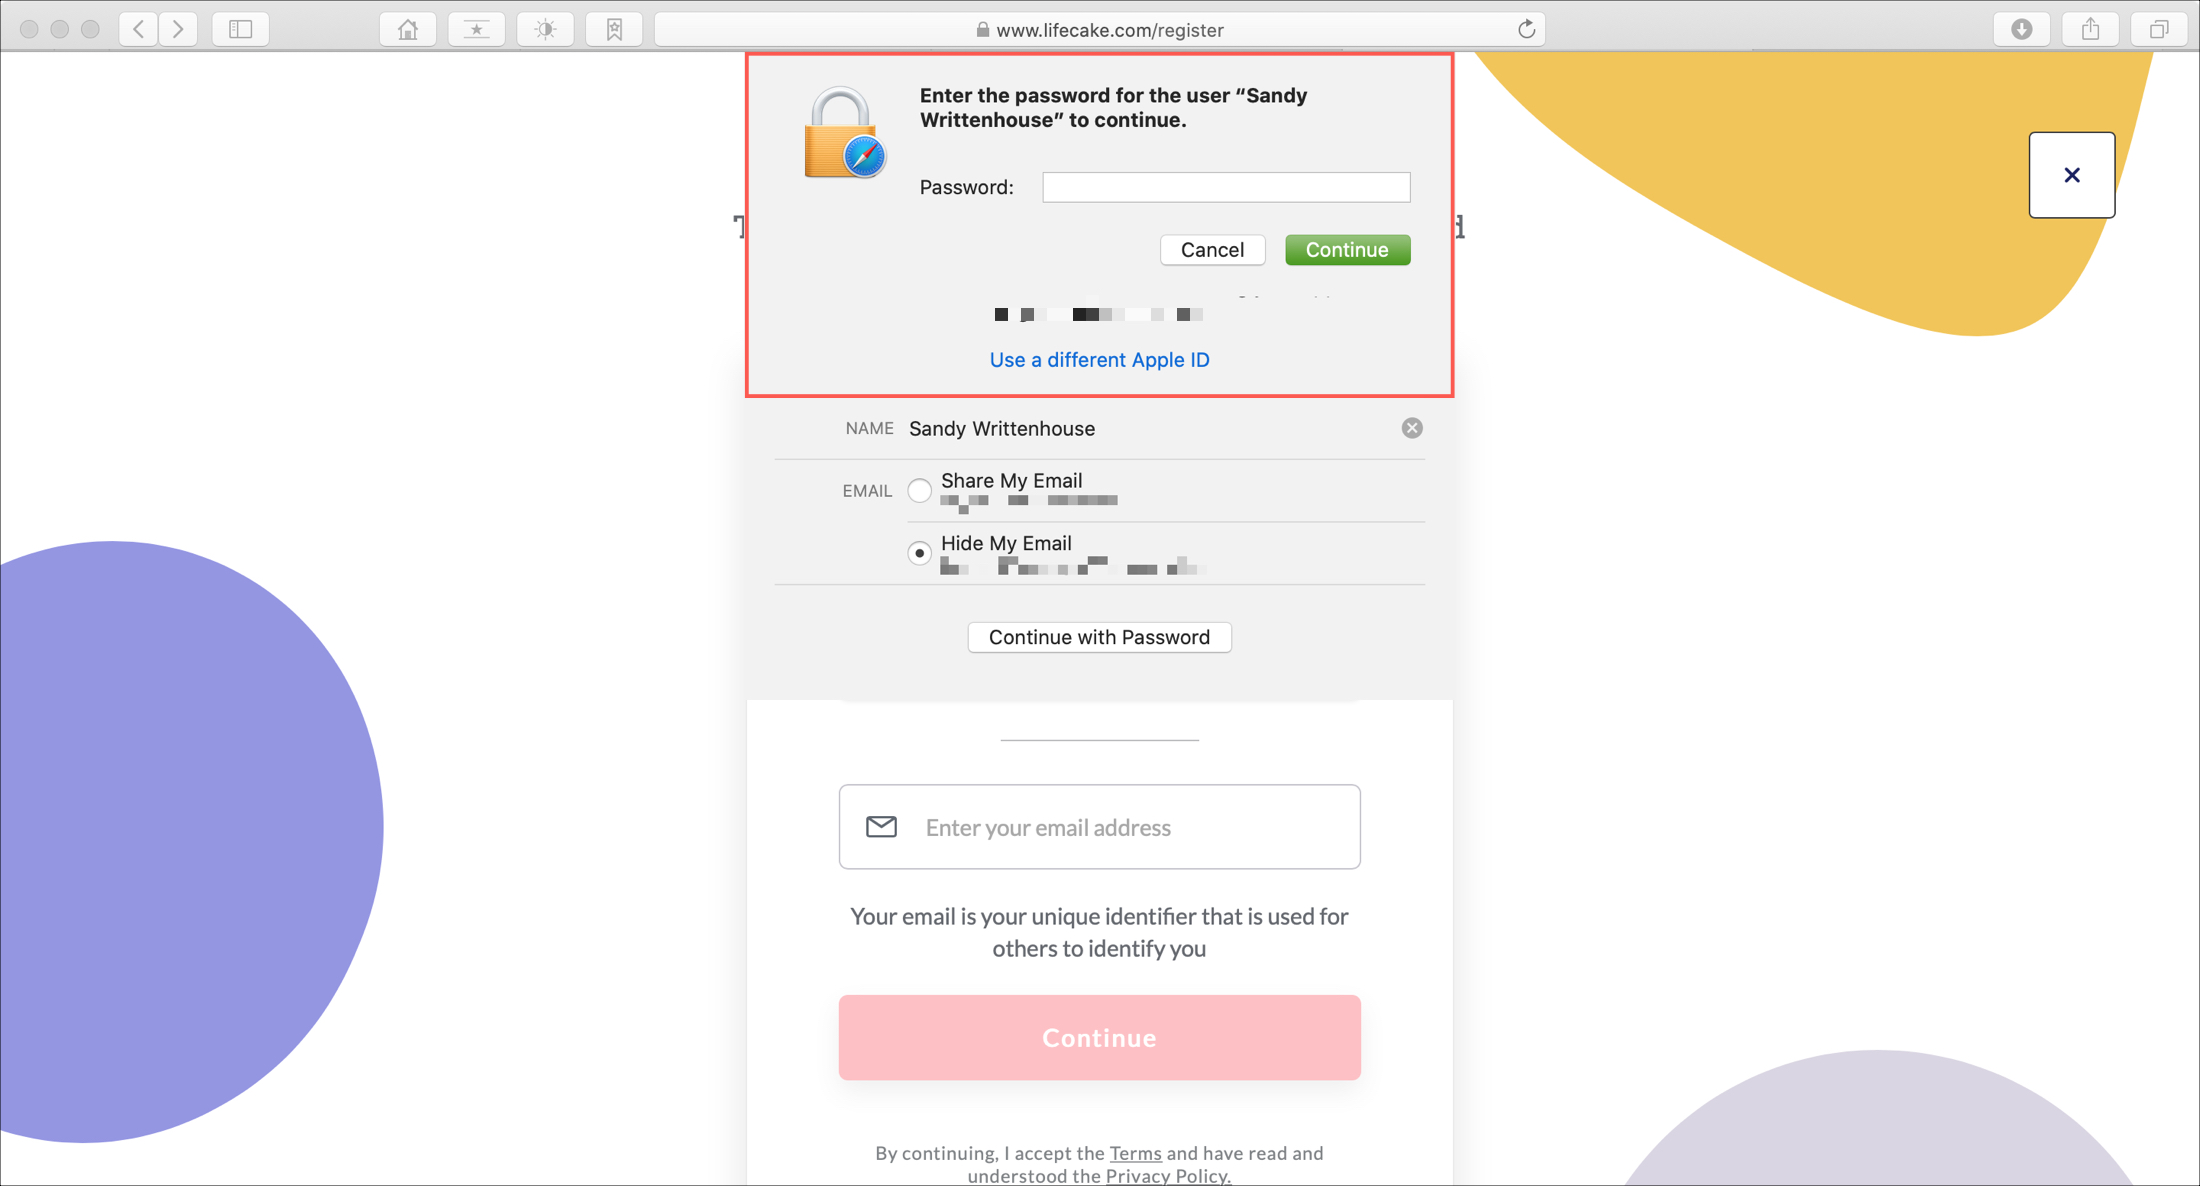
But on Firefox or Chrome, you may see something different asking you to enter your Apple ID to move forward as shown below.
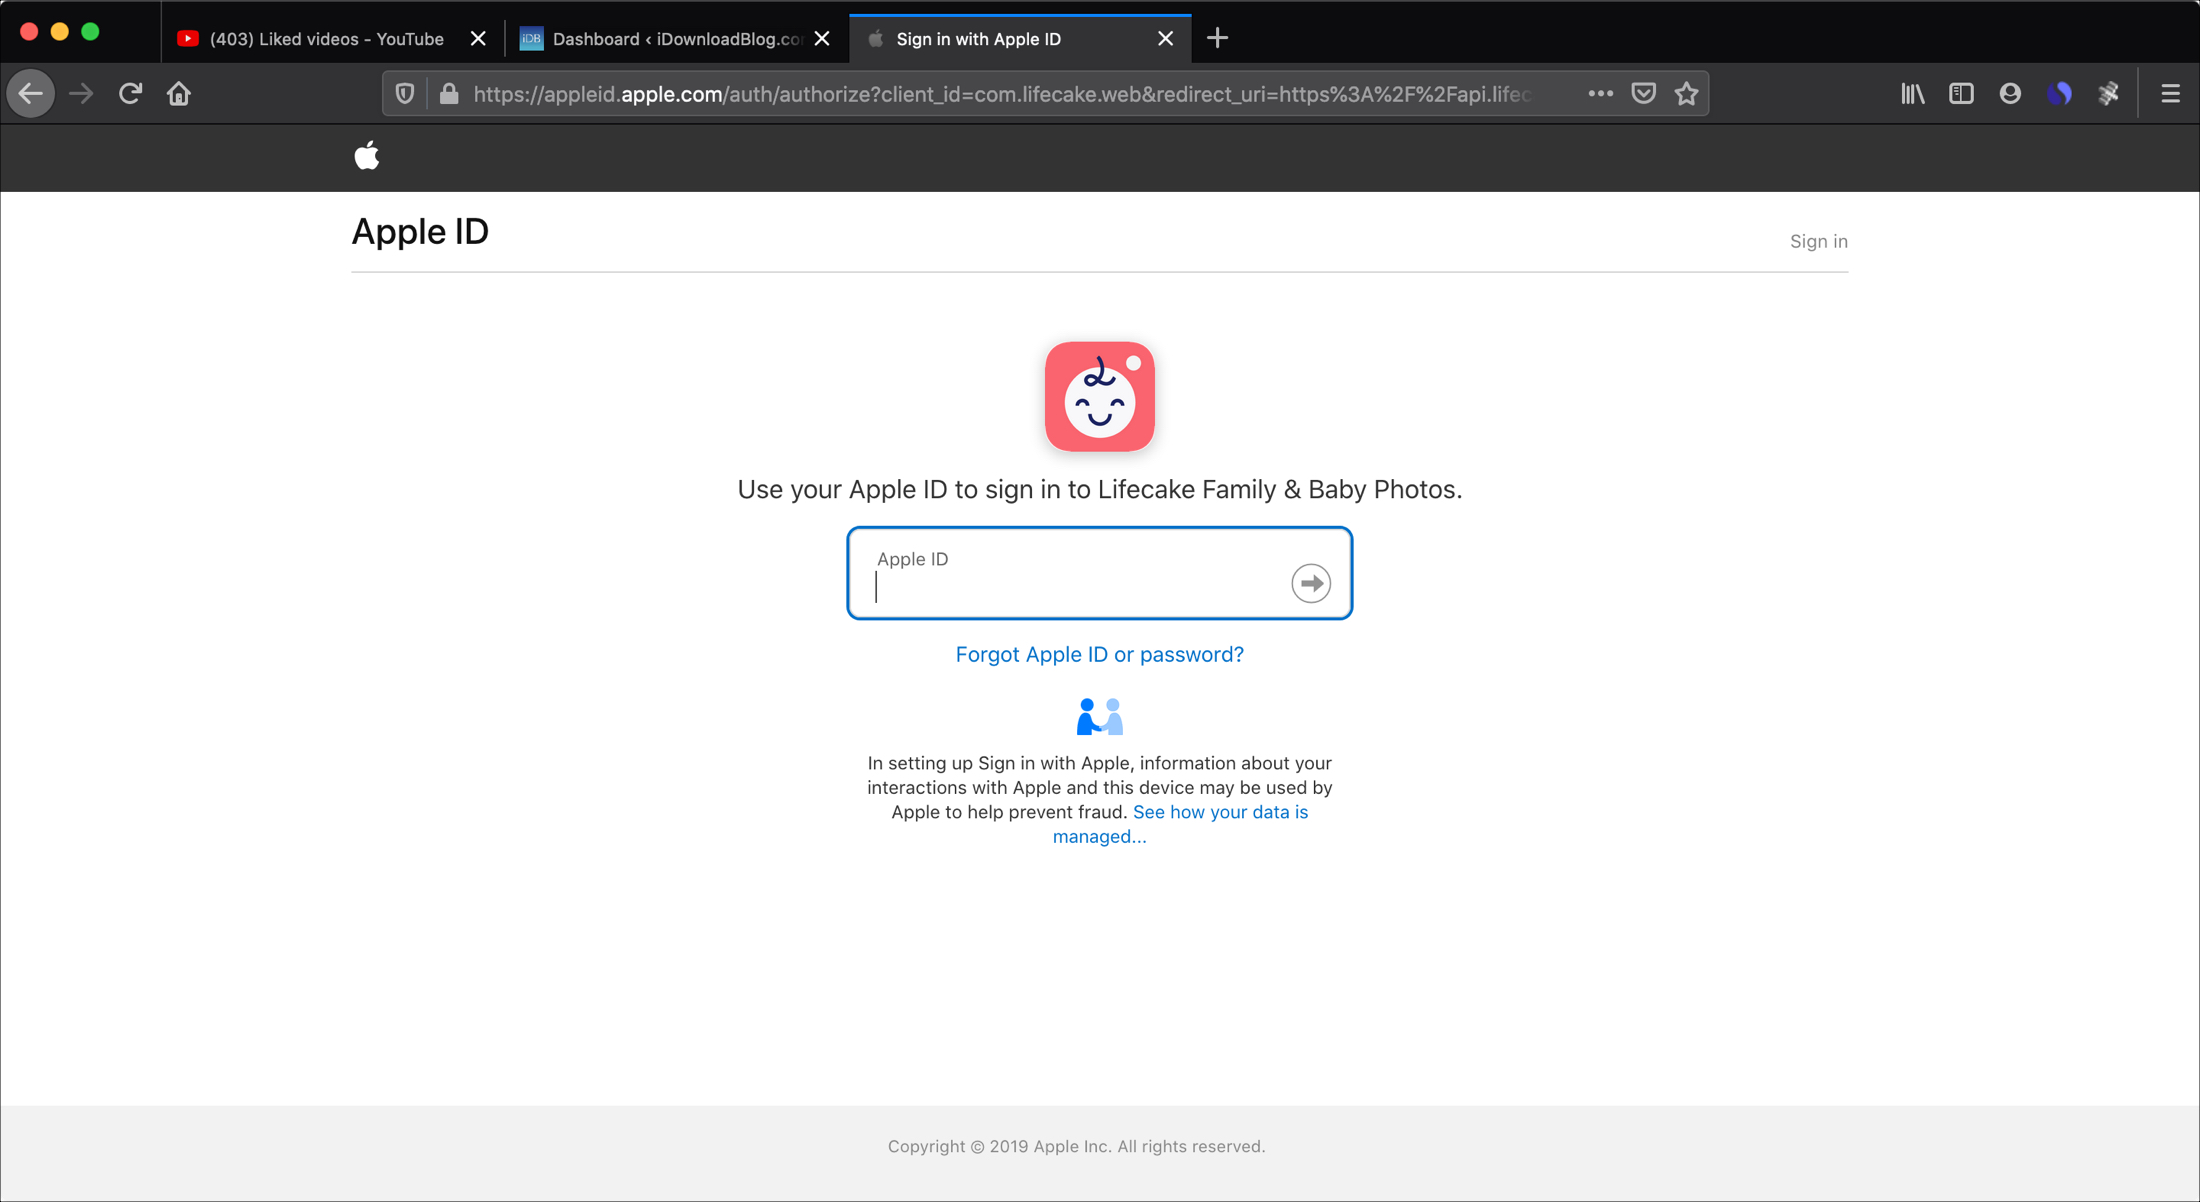
After you enter your password, you’ll see a similar message as that on Safari. Click Continue.
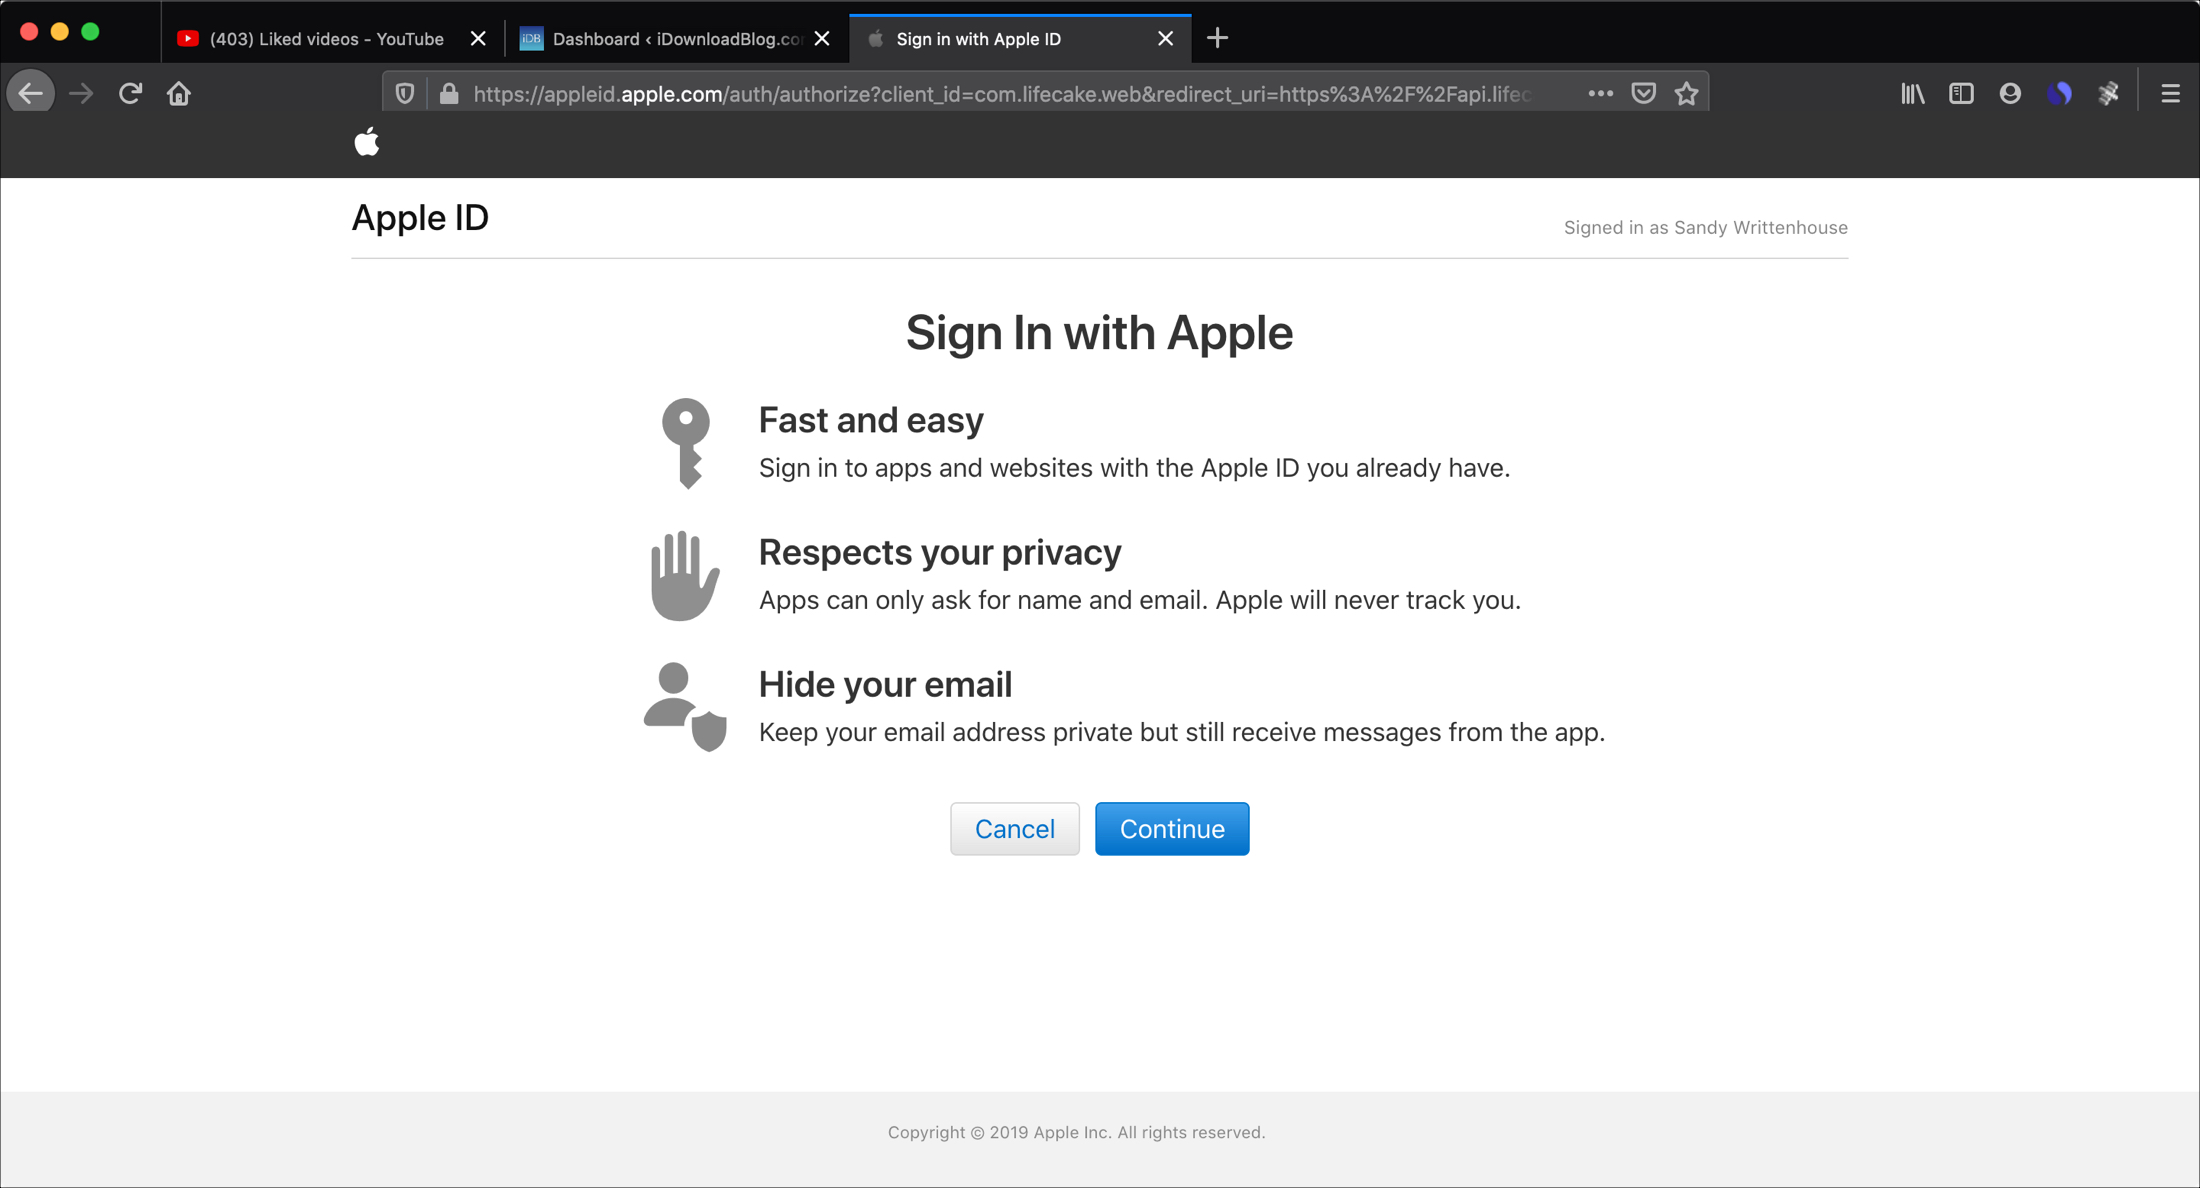
Then you’ll get those options to share or hide your email address. Make your choice and hit Continue once more.
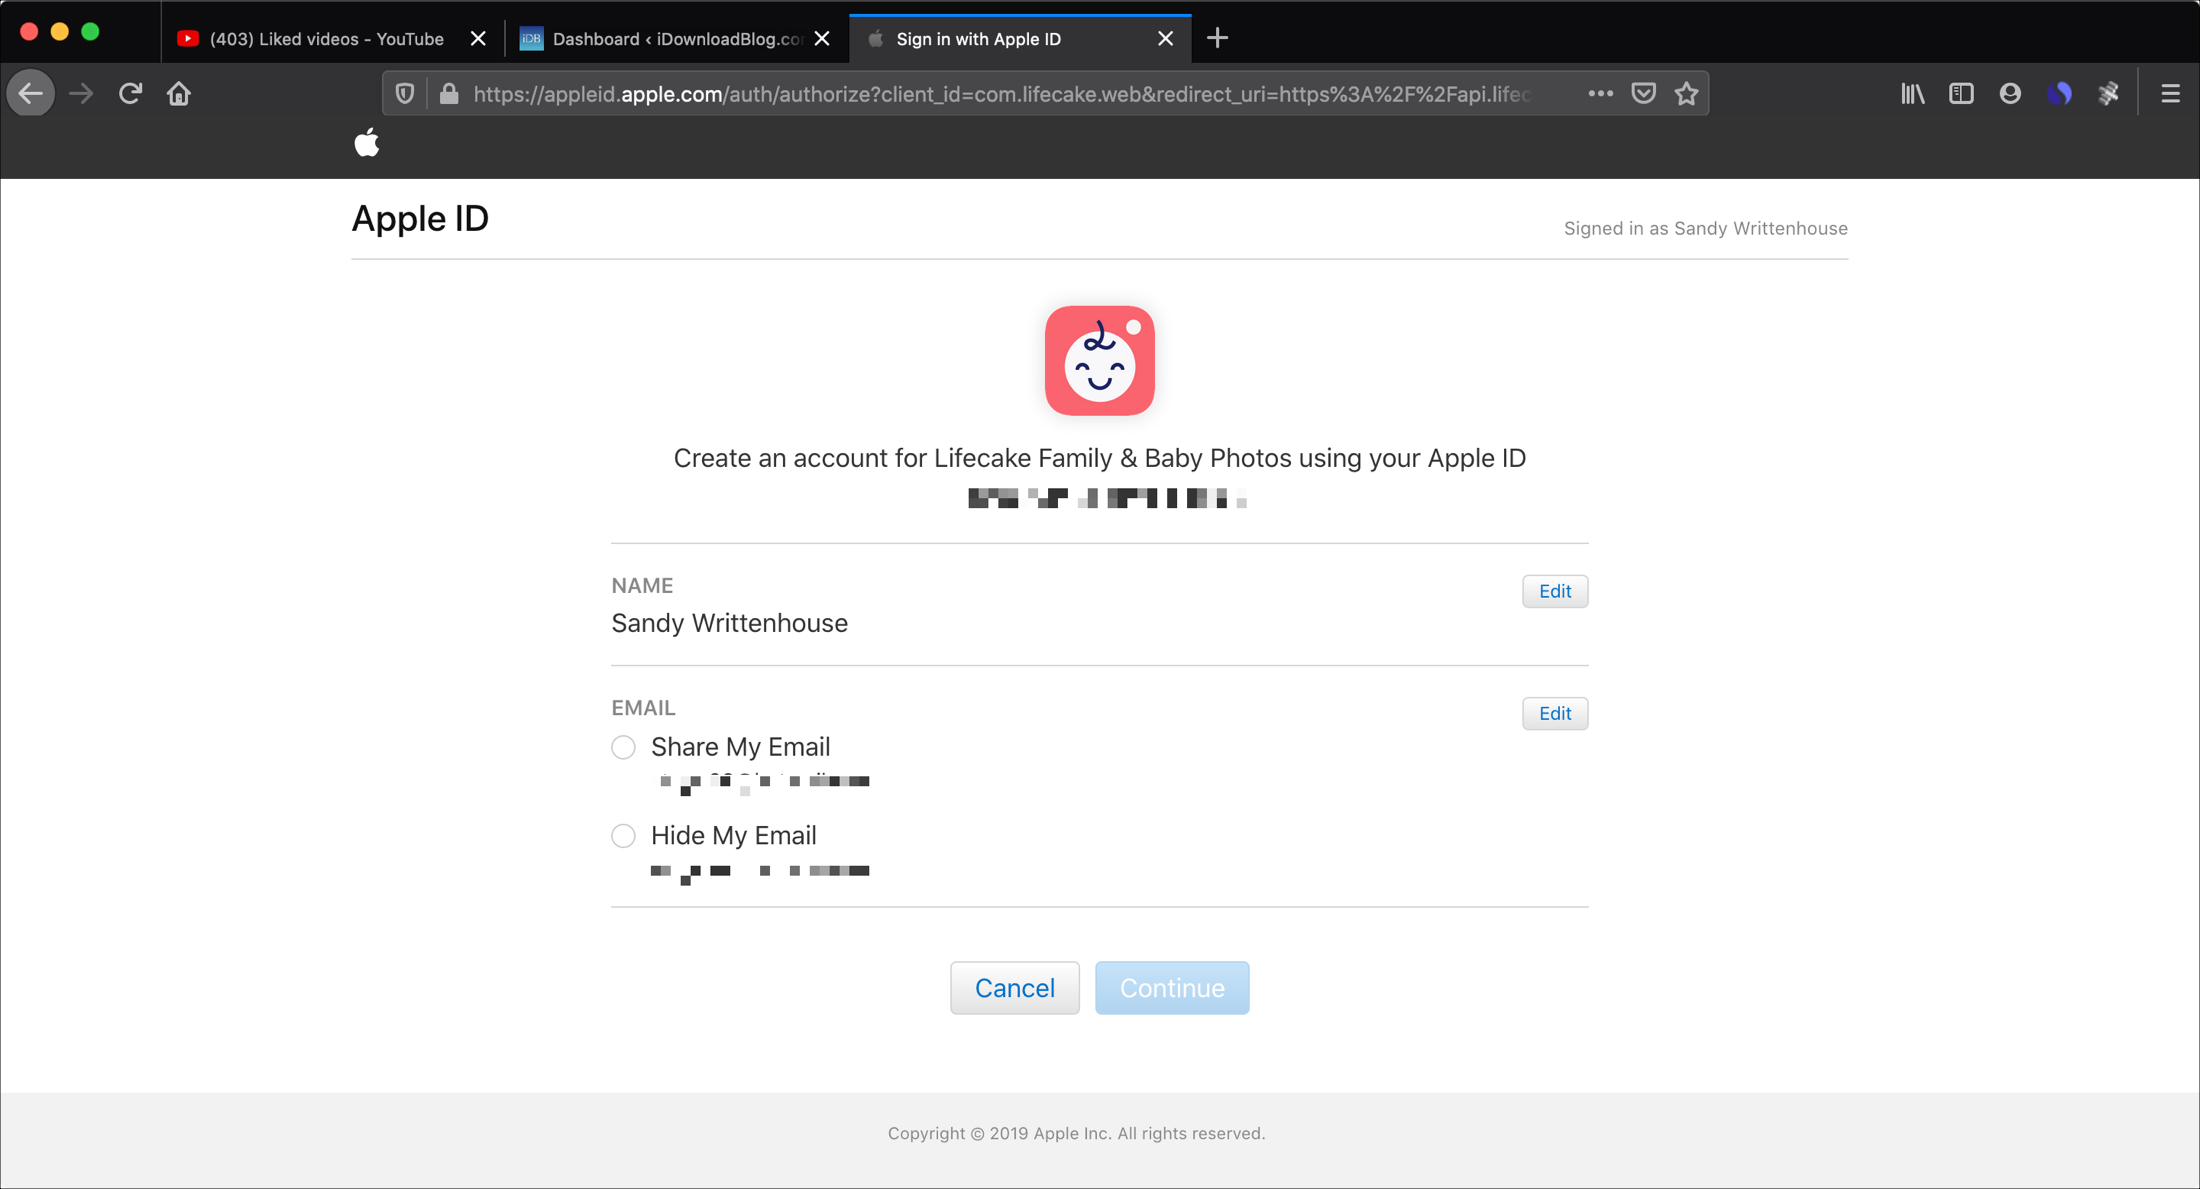
When you return to the website and go to log in, you’ll just click that Continue with Apple button again and log in with your Apple ID and password.
Managing the apps and sites
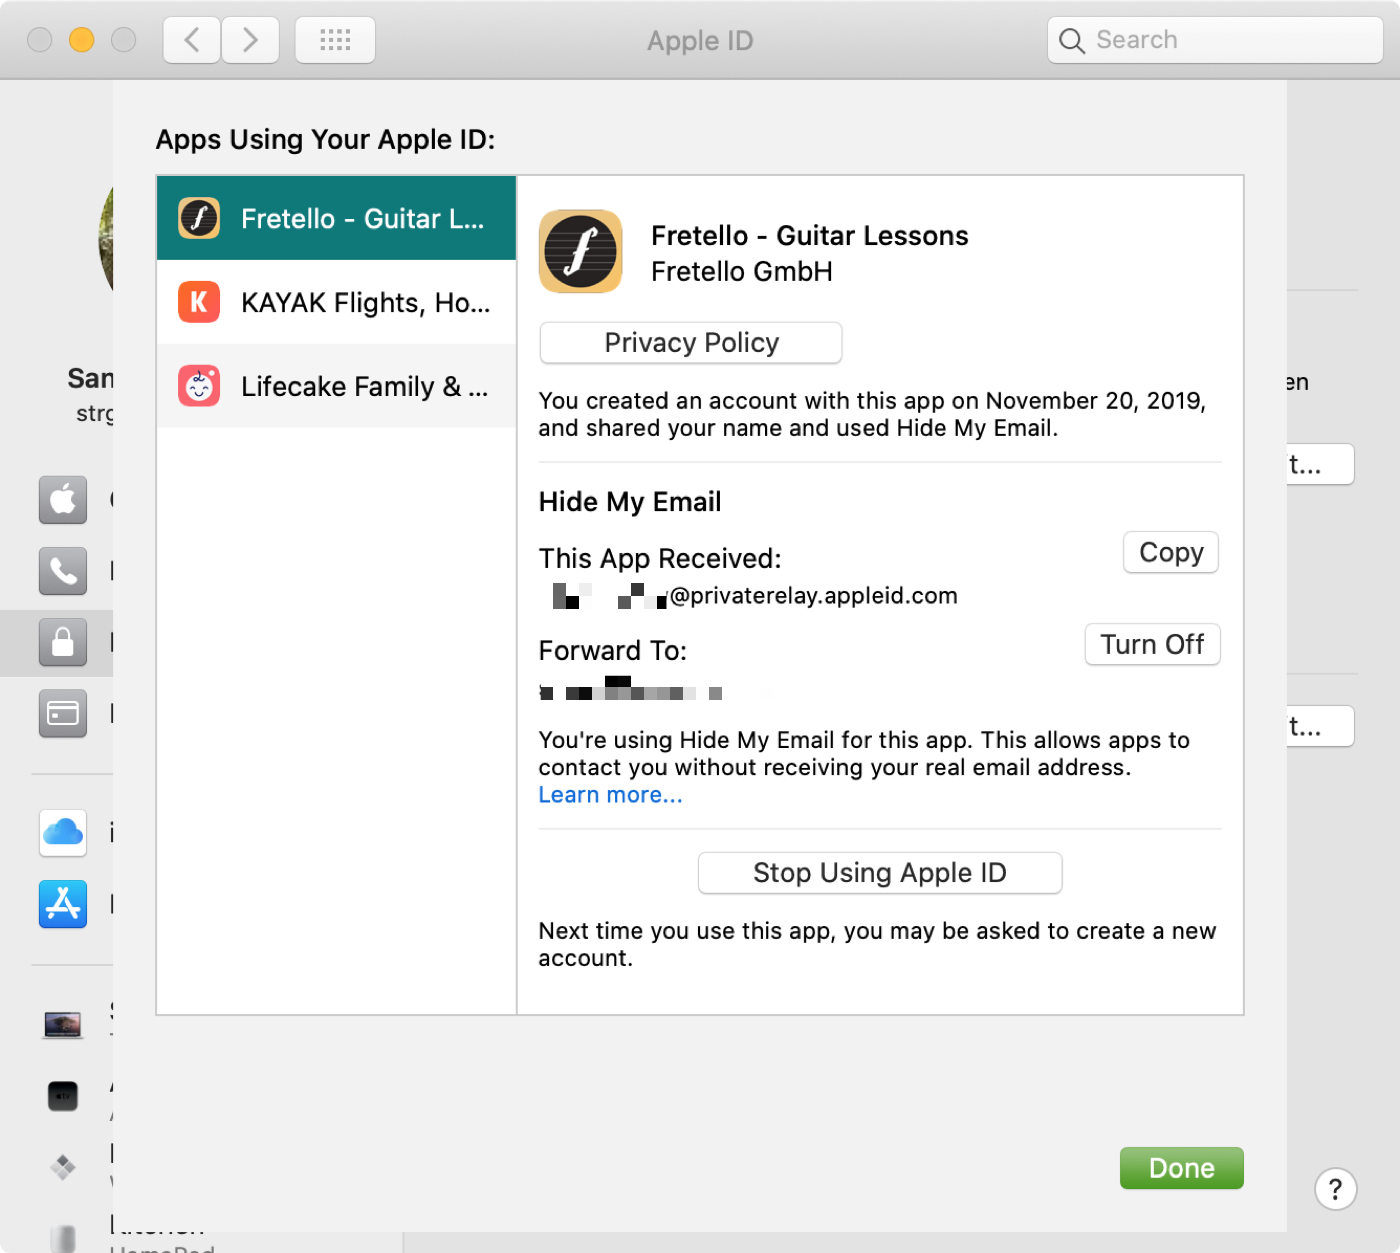
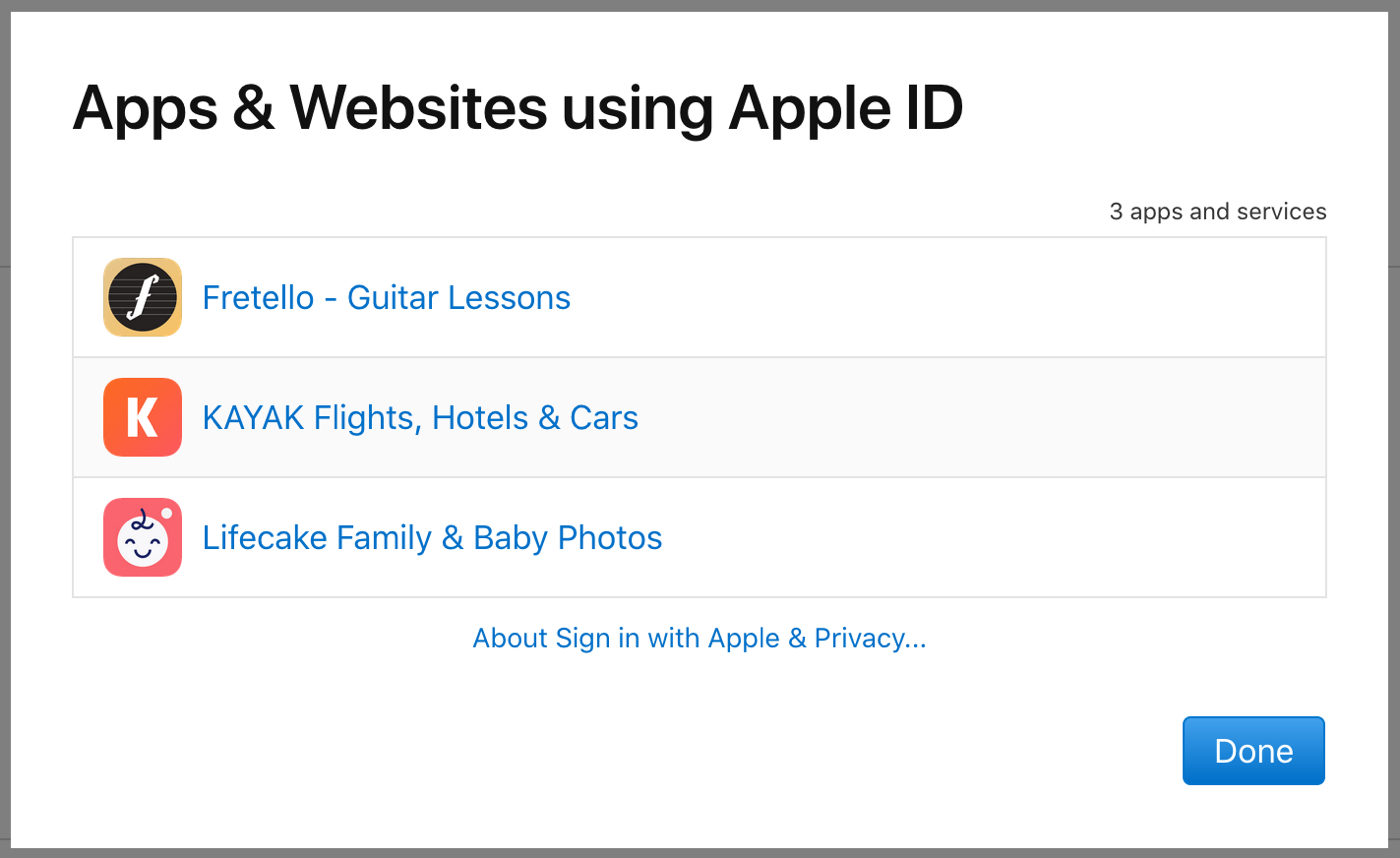
You can view the apps and websites that you are using Sign in with Apple for on any of your devices or the web. Follow the sets of instructions below for your device to view them and then select anyone of them to manage that account.
For example, if you originally chose to hide your email address, you can see the address that was provided to them from Apple’s relay service and can change that email address or turn off the email forwarding.
On iOS
- Open the Settings app, then tap your name.
- Select Password & Security.
- Tap Apps Using Your Apple ID.
On Mac
- Open System Preferences with the button your Dock or Apple icon > System Preferences from the menu bar.
- Click your Apple ID.
- Choose Password & Security on the left.
- Click Edit.
On the web
- Sign in to the Apple ID account page.
- Scroll to the Security
- Under Apps & Websites using Apple ID, select Manage.
Wrapping it up
Sign in with Apple is useful if you don’t want to share a bunch of personal information with an app or site you’re signing up with or signing into. And if you use the Hide Email feature, you have increased privacy with that third party.
Are you going to use this new way to create accounts and log in? Let us know your thoughts about the Sign in with Apple feature in the comments below!